
An ill-fitting, baggy dress can easily ruin an otherwise perfect outfit. Whether you have found a stunning vintage piece at a thrift store, lost weight, or need to fix an off-the-rack garment for a last-minute event, a loose silhouette can make you look swallowed by fabric. While a professional seamstress can permanently fix the issue, alterations can be expensive and time-consuming. Fortunately, learning how to tighten a dress without sewing is a highly effective skill that allows you to instantly customize your look, save money, and keep your garments fully intact.
Many temporary adjustments often look bulky, messy, or come undone after an hour of wear. To achieve a smooth, professional, and completely seamless finish without ever threading a needle, you need to understand the physics of fabric drapery, the proper placement of temporary anchors, and how to work with various dress cuts. This comprehensive guide details every major no-stitch technique to transform your loose clothing into a perfectly tailored fashion statement.
1. The Geometry of Your Fit: Locating the Excess Fabric
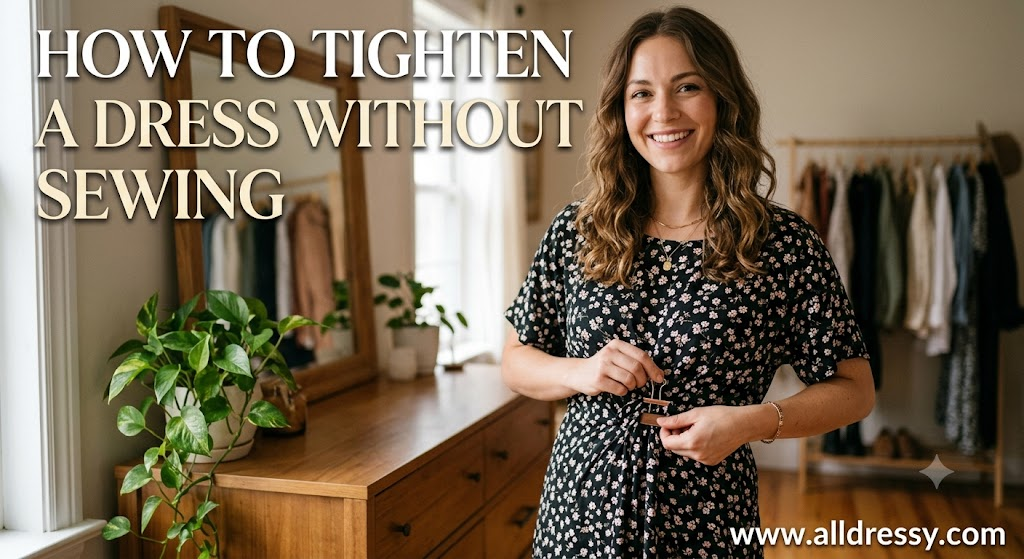
Before applying any temporary adjustment, you must carefully analyze where the dress is failing to fit your body shape. Trying to pull fabric indiscriminately from random areas will warp the hemline, distort the neck opening, or make the closures buckle.
The Back Center Pull
If your dress fits beautifully around your hips but sags or gapes dramatically around your bust, ribs, or the small of your back, the excess fabric should be drawn directly toward your spine. Gathering fabric at the back preserves the clean, unwrinkled lines across your chest and stomach, ensuring the front profile of the dress looks completely flat and high-end.
The Dual Side Pinch
When a shift, sheath, or A-line dress is uniformly too large all over, gathering all the loose material into a single spot at the front or back will pull the side seams out of line, causing the dress to look crooked. In this scenario, you must divide the excess material completely evenly, gathering half of the loose fabric at the left side seam and the other half at the right side seam to maintain the balance and structural alignment of the garment.
2. Advanced Elastic Band and Coin Systems: Creating Faux Ruching
The coin and elastic band trick is one of the most popular viral styling hacks, but executing it poorly can leave you with a clumsy, heavy lump under your clothing. Done with precision, this method acts as a brilliant way to achieve a tailored look while adding a decorative, gathered design element to a plain garment.
The Interior Rosette Method
This technique is ideal for loose jersey, lightweight cotton, t-shirt dresses, and unlined knit fabrics. It pulls the fabric inward from the inside, leaving a beautiful radiating sunburst pattern visible on the outside.
Step 1: Put the dress on normally and look in the mirror to find the exact point where you want the fabric to pull tight (ideally at your natural waist or right along your hip bone).
Step 2: Reach underneath the skirt of your dress, or slide your hand down the neckline, and place a small coin (a nickel or quarter) flat against the interior side of the fabric at that marked location.
Step 3: From the outside of the dress, use your fingers to pinch the fabric completely around the coin, trapping it inside a secure pocket of cloth.
Step 4: Take a high-tension, transparent elastic hair tie or a thin rubber band and wrap it tightly around the base of the coin pocket on the inside of the garment.
Step 5: Twist and loop the band multiple times until it creates a rock-solid seal. When you release the fabric, the coin will remain hidden on the inside, while the exterior displays a pristine, professionally gathered focal point that reduces the dress waist by two to four inches.
The Exterior Button Ruching Effect
If your dress is made of a heavier canvas, linen, or thin denim, a hidden internal coin can look too blocky. Instead, turn the trick on its head. Find an elegant, decorative vintage button or a flat crystal bead. Place the button on the outside of your dress at the side of your waist. From the inside of the garment, push a high-stretch rubber band upward and loop it around the exterior button, catching the dress fabric tightly between them. This transforms a basic tailoring emergency into a deliberate, stylish accent piece that looks entirely intentional.
3. Structural Pinning Strategies: Hidden Anchors for Formalwear
When figuring out how to tighten a dress without sewing for a black-tie gala, wedding, or upscale cocktail party, you cannot rely on visible knots or casual rubber bands. You need a flat, invisible, and highly secure hold that mimics a machine-sewn seam line.
The Internal Pleat Safety Pin Technique
Standard safety pins can look unprofessional if they pierce the front face of a dress. To avoid this, you must master the internal box pleat method, which hides the metal entirely within the interior fold of the dress seams.
Step 1: Turn your loose dress completely inside out and put it on.
Step 2: Stand comfortably and pinch the excess fabric along the interior side seam or back zipper panel until the dress hugs your frame cleanly.
Step 3: Fold that pinched excess fabric flat to one side, creating a sharp, crisp vertical pleat along the inside of the dress.
Step 4: Take a heavy-duty, rust-proof safety pin and pierce it horizontally through the thickest part of the internal folded pleat.
Step 5: Crucially, ensure the needle of the pin only catches the interior layers of the fabric fold. It must never pierce through to the very front layer of the dress.
Step 6: Place a safety pin every two inches down the length of the pleat to distribute the physical tension evenly. When you turn the dress right-side out and put it on, the exterior will feature a clean indentation that looks like a professionally pressed tailored seam.
Utilizing Premium Dressmaker Safety Clips
If you are dealing with delicate vintage fabrics, silk slips, or satin gowns, even the thinnest safety pin can leave permanent needle holes or create ugly snags in the delicate woven threads. To bypass this issue, look to specialized, non-piercing dressmaker clips or padded fashion contour clips. These small, low-profile tension clamps grip the interior seam lines tightly together without puncturing the material, allowing you to narrow down a luxury satin gown smoothly with absolutely zero risk of damaging the expensive textile.
4. Temporary Chemical and Thermal Bonds: No-Stitch Adhesives
For a truly flush finish that leaves no bumps, clips, or pins against your skin, you can turn to the world of modern textile chemistry. Temporary fabric adhesives provide an incredibly flat hold that remains completely hidden from view.
The Power of Fusible Hemming Tape
Fusible tape is a web-like adhesive strip that melts completely flat when exposed to heat, bonding layers of fabric together like heavy-duty glue. It is an extraordinary tool for shortening loose dress straps, raising dropped hemlines, or narrowing baggy side seams.
To tighten your dress using this method, turn the garment inside out and lay it flat on an ironing board. Fold a vertical tuck or pleat into the side seam to reduce the width of the dress torso. Slide a strip of double-sided fusible hemming tape directly inside that newly formed fold. Place a clean damp cloth over the fabric to protect the fibers, and press a hot steam iron firmly over the area for ten to fifteen seconds. The heat activates the adhesive, bonding the fold flat. The best part? Most temporary hemming tapes are formulated to dissolve easily later when washed in warm water or dry-cleaned, allowing you to restore the dress to its original size whenever you want.
Medical Grade Double-Sided Fashion Tape
If your main struggle is a loose, gaping neckline on a wrap dress or a strapless bodice that keeps sliding down your chest, fusible tape won’t work because you cannot fold the main structure of the dress. Instead, you need to anchor the loose fabric directly to your skin or undergarments using heavy-duty, hypoallergenic double-sided fashion tape.
Thoroughly clean and dry your skin to remove any natural body oils or lotions. Apply a long strip of the high-tack tape along the top interior perimeter of your dress bodice or across the edge of a plunging V-neck line. Peel off the paper backing, press the dress fabric firmly against your skin or your bra cup, and hold it in place for thirty seconds. This adhesive bond keeps the loose fabric completely taut, preventing it from shifting, gaping, or slipping down during heavy movement or dancing.
5. Architectural Accessorizing: Using Styling Pieces to Cinch the Frame
One of the smartest ways to solve a sizing problem is to use external styling accessories to mechanically pull the loose fabric tight against your frame. This shifts the focus away from a fitting problem and transforms the solution into a bold fashion statement.
| Accessory Type | Best For | Mechanics | Style Outcome |
| Rigid Corset Belt | Oversized Midi & Maxi Dresses | Pulls all excess fabric into a hidden rear box pleat beneath leather. | Creates a classic, hyper-defined hourglass waistline. |
| Interior Shoelace / Ribbon | Shirt Dresses & Shift Garments | Threaded through interior belt loops to create a hidden drawstring. | Cinches the torso while leaving the exterior clean and unbelted. |
| Decorative Scarf Tie | Summer Sundresses & Linen Frocks | Knotted tightly around the back waist to gather loose fabric panels. | Adds a casual, bohemian texture with elegant trailing tails. |
The Rear Box-Pleat Cinch Method
When wearing an oversized midi or maxi dress, simply looping a thin fashion belt around your waist can cause the excess fabric to bunch up awkwardly all the way around your torso, making you look wider. To avoid this, use the strategic rear box-pleat method.
Put the dress on and use both hands to pull all the loose, bagging fabric toward the exact center of your lower back, smoothing out the front and sides of the dress across your stomach and hips. Fold that gathered rear fabric into a neat, flat, wide box pleat directly over your spine. Hold it flat with one hand, and use your other hand to fasten a wide, rigid leather or structure belt directly over the top of the folded material. The belt holds the pleat firmly against your back, keeping the front and sides of your dress looking completely tailored, smooth, and perfectly contoured to your natural waist.
6. Modifying Straps and Shoulder Lines for Instant Vertical Lift
Sometimes a dress feels completely loose at the waist, chest, and hips simply because it is hanging too low on your frame. Shortening the shoulder straps lifts the entire vertical architecture of the garment, which naturally pulls the fabric much tighter against your natural physical curves.
The Bobby Pin and Hair Elastic Loop
If you are wearing a dress with thin spaghetti straps that are too long, causing your neckline to plunge dangerously low, you can create a temporary, no-cut adjustment at the back of the shoulder using everyday hair accessories.
Slide the dress on and determine exactly how many inches the strap needs to be shortened to lift the bodice into a comfortable position. Fold the strap upward into a small, tight, U-shaped loop at the back connection point where the strap joins the main bodice. Take a tiny, clear elastic hair band and wrap it tightly around the base of that loop multiple times to lock it in place. Slide a sturdy bobby pin or a small safety clip through the loop and anchor it flat against the interior lining of the garment. This shortens the strap invisibly, and when you are done with the event, you can simply unwrap the elastic band to restore the dress to its original factory length.
The Hidden Ribbon Strap-Tie
For dresses with wider fabric straps or sleeveless shoulder panels where a simple hair tie loop would look too bulky, you can use a hidden ribbon tie inside the shoulder line.
Turn the dress inside out and locate the center ridge of the shoulder strap. Pinch a horizontal fold into the fabric to shorten it to your desired height. Take a short piece of thin, durable grosgrain ribbon and tie it tightly around the pinched fabric fold, knotting it securely on the interior side of the garment. This creates a small, internal shoulder epaulet that lifts the entire dress, raising the armpits, chest panel, and waistline into a much smaller, highly flattering placement without requiring a single snip of a pair of scissors.
Frequently Asked Questions
Is it safe to use safety pins on delicate fabrics like silk or satin?
Standard safety pins can damage delicate textiles by leaving permanent holes or causing thread snags. For luxury fabrics, it is highly recommended to use specialized, non-piercing dressmaker clips or padded fashion contour clips. These alternatives grip the fabric firmly without puncturing the material, ensuring a secure fit without the risk of ruining the garment.
How long does fusible hemming tape last through wash cycles?
Fusible hemming tape creates a strong, heat-activated bond that typically holds up through several standard wash cycles. However, it is designed to be temporary. To preserve the bond for as long as possible, turn the garment inside out before washing, use a cold water setting, and avoid high-heat tumble drying, as extreme heat can re-melt the adhesive and cause it to peel.
Will the coin and elastic band trick leave permanent wrinkles in the fabric?
The coin and elastic band trick creates a gathered, ruched effect that mimics a design feature. While it will not permanently damage the fabric, it will create localized wrinkling or deep creases where the rubber band compressed the cloth. These wrinkles can easily be removed by steaming or ironing the area after you remove the band.
How do I stop fashion tape from losing its stickiness against my skin?
Double-sided fashion tape relies on a clean, dry surface to maintain its bond. If the tape is losing its grip, it is likely due to natural body oils, sweat, or lotions on the skin. To maximize its longevity, wipe the area of your skin down with rubbing alcohol or an astringent wipe to completely remove oils before applying the tape.
Can I combine multiple no-sew methods on a single dress?
Absolutely. You can layer different techniques to achieve a completely custom fit. For example, you might use an internal safety pin pleat to tighten the side seams while simultaneously using a clear elastic loop to shorten the shoulder straps. Combining these methods allows you to address multiple fit issues simultaneously without requiring a single stitch.
Conclusion
Learning how to tighten a dress without sewing is an incredibly empowering skill that allows you to take full control of your wardrobe. Whether you are dealing with a vintage find that runs large, a garment that has stretched out over time, or a sudden change in your measurements, you do not need to rely on expensive professional alterations or basic sewing knowledge to look polished.
By leveraging structural pinning, adhesive technologies, clever elastic hacks, and strategic accessorizing, you can achieve a tailored, high-end silhouette instantly. These techniques not only save you time and money but also preserve the integrity of your clothing, giving you the flexibility to adjust your fit whenever your style or body evolves. With these methods in your toolkit, every dress you own can look like it was custom-made just for you.