
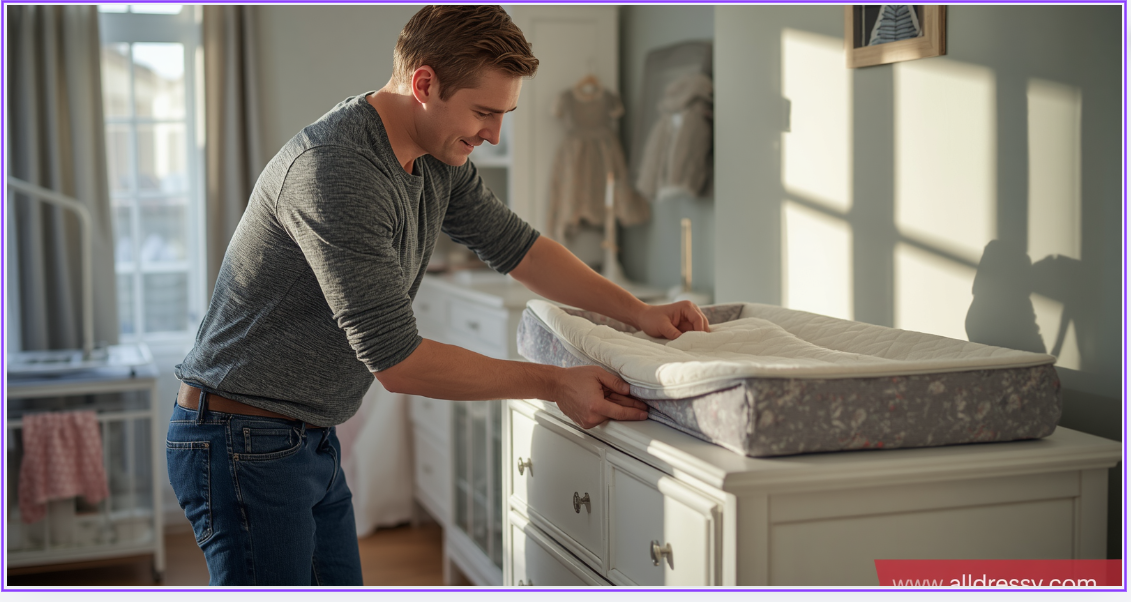
Setting up a nursery involves more than choosing beautiful furniture and adorable decorations. One of the most important safety considerations is learning how to secure changing pad to dresser correctly. A changing pad placed on top of a dresser creates a convenient diaper-changing station, but it must be installed properly to minimize movement and improve stability.
Many parents prefer using a dresser instead of buying a separate changing table because it saves space, provides additional storage, and continues to be useful as a child grows. However, a changing pad that slides, shifts, or tips can create unnecessary safety risks. Understanding how to secure changing pad to dresser helps ensure a safer changing environment while protecting both your baby and your furniture.
This comprehensive guide explains every aspect of securing a changing pad to a dresser, including selecting the right dresser, choosing compatible changing pads, installation methods, safety straps, anti-slip solutions, maintenance tips, and common mistakes to avoid.
Why It Is Important to Secure a Changing Pad to a Dresser
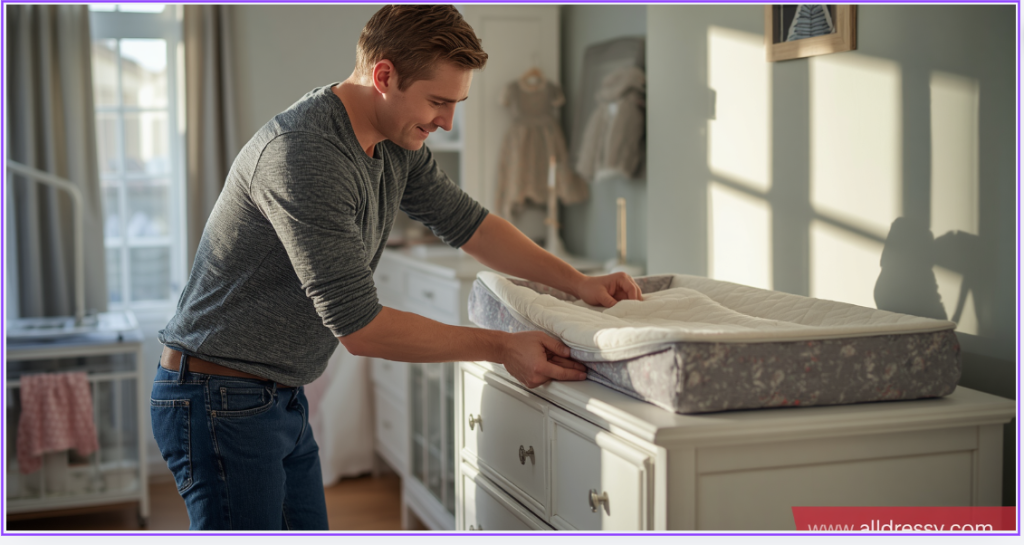
A changing pad should never simply rest loosely on top of a dresser. Even small movements during diaper changes can cause the pad to shift.
Properly securing the changing pad offers several benefits:
- Reduces unwanted movement
- Improves baby safety
- Creates a more stable changing surface
- Prevents damage to the dresser finish
- Makes diaper changes easier
- Increases parent confidence
- Helps organize nursery space
Although securing the changing pad is important, babies should always remain supervised during every diaper change.
Can You Use a Dresser as a Changing Table?
Yes. Many parents successfully convert a dresser into a changing station.
Advantages include:
- Better long-term value
- More storage space
- Multi-purpose furniture
- Stylish nursery appearance
- Eliminates the need for a separate changing table
The dresser should be sturdy, level, and appropriately sized before installing a changing pad.
Choosing the Right Dresser
Before learning how to secure changing pad to dresser, make sure the dresser itself is suitable.
Look for:
- Solid wood or high-quality engineered wood
- Wide, stable base
- Flat top surface
- Heavy construction
- Smooth finish
- No wobbling
- Secure drawers
Avoid lightweight or unstable furniture.
Choosing the Correct Changing Pad
Not every changing pad fits every dresser.
Consider the following factors.
Size
The changing pad should fit comfortably without hanging over the edges.
Measure:
- Dresser width
- Dresser depth
- Changing pad dimensions
Leave several inches of clearance around the pad whenever possible.
Weight
A lightweight pad may slide more easily.
Heavier pads generally stay in position better.
Non-Slip Bottom
Many premium changing pads include textured bottoms that naturally grip furniture.
These provide an additional layer of stability.
Raised Sides
Raised edges help keep babies centered during diaper changes.
Measuring Before Installation
Always measure before purchasing.
Important measurements include:
- Dresser depth
- Dresser width
- Pad length
- Pad width
- Pad height
A properly sized pad is easier to secure.
Best Position for the Changing Pad
Center placement is usually the safest.
Avoid placing the pad:
- Too close to edges
- Near decorative items
- Beside lamps
- Under shelves with low clearance
The changing area should allow comfortable access from the front.
How to Secure Changing Pad to Dresser Using Safety Straps
Many changing pads include built-in safety straps.
Installation steps:
Step 1
Place the changing pad in the desired position.
Step 2
Locate the included attachment straps.
Step 3
Wrap the straps around the dresser according to the manufacturer’s instructions.
Step 4
Tighten without over-compressing the pad.
Step 5
Check that the pad no longer shifts during use.
Using Furniture Attachment Hardware
Some dressers include dedicated mounting hardware.
These systems often use:
- Brackets
- Screws
- Anchors
- Retaining clips
Always follow the furniture manufacturer’s installation instructions to avoid damaging the dresser or reducing stability.
Anti-Slip Mats for Additional Stability
An anti-slip mat adds friction between the changing pad and dresser.
Benefits include:
- Reduces sliding
- Protects furniture finish
- Easy installation
- Affordable solution
- Compatible with most changing pads
Trim the mat if necessary so it remains hidden beneath the pad.
Double-Sided Furniture Tape
Some parents use removable double-sided furniture tape.
Advantages:
- Strong grip
- Minimal movement
- Easy application
However:
- Choose tape designed for furniture.
- Avoid products that leave permanent residue.
- Test on an inconspicuous area first.
Hook-and-Loop Fasteners
Hook-and-loop strips can hold lightweight changing pads in place.
Installation involves:
- Cleaning both surfaces
- Applying adhesive strips
- Pressing firmly
- Allowing adhesive to cure
This solution works best on smooth, flat surfaces.
Using Rubber Shelf Liner
Rubber shelf liner provides excellent grip.
Simply:
- Cut to size
- Lay flat
- Place changing pad on top
This inexpensive option increases friction without permanently attaching anything.
Securing Waterproof Changing Pads
Waterproof pads often have smoother bottoms.
To prevent movement:
- Use anti-slip mats
- Ensure straps are tightened
- Keep surfaces clean and dry
Moisture underneath may reduce grip.
Anchoring the Dresser to the Wall
Even if the changing pad is secure, the dresser itself should also be secured.
Wall anchoring helps prevent tip-over accidents.
Benefits include:
- Increased stability
- Reduced tipping risk
- Improved nursery safety
Always use hardware appropriate for your wall type and follow the furniture manufacturer’s guidance.
How Tight Should the Safety Strap Be?
The strap should:
- Hold the pad firmly
- Prevent sliding
- Avoid compressing foam excessively
- Stay secure during movement
If the pad still shifts, re-adjust the strap.
Testing Stability After Installation
Before placing your baby on the changing pad:
Perform these checks.
Push Test
Apply gentle pressure from every side.
The pad should remain in place.
Lift Test
Try lifting one corner.
It should resist movement.
Side Movement Test
Push left and right.
Minimal movement indicates proper installation.
Weight Test
Press downward with both hands.
The pad should remain stable.
Keeping the Dresser Surface Clean
Dust and oils reduce friction.
Before installation:
- Clean with a soft cloth
- Remove dust
- Dry thoroughly
- Avoid oily furniture polish where the pad will sit
A clean surface improves grip.
Organizing the Changing Station
A well-organized setup enhances safety by reducing the need to step away during diaper changes.
Keep these essentials within arm’s reach:
- Diapers
- Baby wipes
- Rash cream
- Extra clothes
- Burp cloths
- Hand sanitizer
- Disposable bags
Avoid cluttering the dresser top with unnecessary decorative items.
Common Mistakes When Securing a Changing Pad
Choosing the Wrong Size
A pad that is too large or too small can move easily and reduce stability.
Ignoring Manufacturer Instructions
Always follow the instructions supplied with both the dresser and changing pad.
Forgetting to Anchor the Dresser
Even a securely attached changing pad cannot prevent injuries if the dresser tips forward.
Using Weak Adhesives
Household tapes that are not designed for furniture may fail or damage finishes.
Placing the Pad Near the Edge
Always position the changing pad toward the centre of the dresser to maximise stability.
Skipping Routine Inspections
Check straps, fasteners, and anti-slip materials regularly for wear or loosening.
Choosing the Best Dresser Height
Comfortable height reduces strain during frequent diaper changes.
Most parents prefer a surface that allows them to stand upright without bending excessively.
Consider:
- Parent height
- Nursery layout
- Drawer accessibility
- Storage needs
Safety Tips During Every Diaper Change
Knowing how to secure changing pad to dresser is only one part of creating a safe changing area.
Follow these best practices every time:
- Keep one hand on your baby whenever they are on the changing pad.
- Prepare all supplies before beginning.
- Fasten the changing pad’s safety harness if provided, but never rely on it alone.
- Never leave your baby unattended, even for a few seconds.
- Replace worn straps or damaged pads immediately.
- Keep sharp or heavy objects away from the changing area.
- Avoid placing the dresser near windows with hanging cords or blinds.
Maintaining Your Changing Pad and Dresser
Routine maintenance helps ensure the setup remains secure over time.
Inspect Weekly
Check for loose straps, worn fasteners, cracked plastic components, or shifting hardware.
Clean the Pad
Use baby-safe cleaning products and wipe down the surface regularly to maintain hygiene.
Protect the Dresser Finish
Clean spills promptly and use protective liners if needed to prevent moisture damage.
Check Wall Anchors
If the dresser is anchored to the wall, inspect the hardware periodically to ensure it remains tight and secure.
Replace Worn Components
If the changing pad becomes damaged, loses its shape, or no longer stays securely attached, replace it rather than attempting temporary repairs.
By understanding how to secure changing pad to dresser and combining proper installation with consistent safety practices, you can create a stable, practical, and reliable changing station that serves your family well throughout your baby’s diaper-changing years.
FAQs
Is it safe to use a dresser as a changing table?
Yes, using a dresser as a changing table is safe when the dresser is sturdy, properly anchored to the wall, and the changing pad is securely attached according to the manufacturer’s instructions. Always supervise your baby during diaper changes.
What is the best way to secure a changing pad to a dresser?
The best method is to use the safety straps or attachment hardware included with the changing pad. For added stability, you can place an anti-slip mat or rubber shelf liner underneath the pad, provided these accessories are compatible with the manufacturer’s recommendations.
Can I use double-sided tape to secure a changing pad?
Yes, removable furniture-safe double-sided tape can provide additional grip. However, it should not replace the built-in safety straps or recommended attachment system, and you should ensure it won’t damage the dresser’s finish.
Should the changing pad be centered on the dresser?
Yes. Positioning the changing pad in the center of the dresser provides better balance and stability. Avoid placing it near the front or side edges where it may be more likely to shift.
Do all changing pads come with safety straps?
No. While many modern changing pads include safety straps, some basic models do not. Before purchasing, check the product specifications to see whether straps or attachment hardware are included.
Can I place a changing pad on any dresser?
Not every dresser is suitable. Choose a dresser with a flat, sturdy top, a stable base, and enough surface area to fully support the changing pad without overhang. Lightweight or unstable furniture should be avoided.
How do I stop my changing pad from sliding?
You can reduce movement by:
- Tightening the built-in safety straps.
- Using an anti-slip mat beneath the pad.
- Keeping the dresser surface clean and dry.
- Making sure the changing pad fits the dresser correctly.
Should I anchor the dresser to the wall?
Yes. Anchoring the dresser to the wall is strongly recommended because it helps prevent tip-over accidents, especially as babies grow into curious toddlers who may pull on drawers or attempt to climb the furniture.
How often should I check the changing pad attachment?
Inspect the straps, fasteners, and anti-slip materials at least once a week. Also check them immediately if you notice the changing pad moving more than usual or after relocating the dresser.
Can I leave my baby on the changing pad if it is securely attached?
No. Even if you know how to secure changing pad to dresser correctly, you should never leave your baby unattended on the changing pad. Babies can roll unexpectedly, making constant supervision essential.
Conclusion
Learning how to secure changing pad to dresser is an important step in creating a safe, practical, and organized nursery. A securely attached changing pad reduces unwanted movement, improves stability, and makes diaper changes more comfortable for both parents and babies. By selecting a sturdy dresser, choosing the correct-sized changing pad, using the recommended safety straps or mounting hardware, adding anti-slip protection when appropriate, and anchoring the dresser to the wall, you can significantly improve the safety of your changing station. Regular inspections, proper cleaning, and following the manufacturer’s guidelines will help ensure your setup remains reliable as your child grows, giving you greater peace of mind during every diaper change.