
Learning how to tie a sash bow on a dress is one of the easiest ways to elevate your outfit. Whether you’re wearing a wedding dress, bridesmaid gown, flower girl dress, cocktail dress, evening gown, or a casual wrap dress, a beautifully tied sash bow instantly creates a polished, elegant appearance.
Unfortunately, many people struggle with uneven loops, twisted fabric, drooping bows, or bows that come undone after only a short time. The good news is that mastering how to tie a sash bow on a dress doesn’t require professional sewing or fashion experience. With a few simple techniques and a little practice, you can create a balanced, secure, and attractive bow every time.
A sash is much more than a decorative ribbon. It defines your waistline, enhances your body shape, adds texture to your outfit, and can completely transform the look of a dress. Different fabrics, sash widths, and dress styles require slightly different tying methods, making it important to understand the proper technique for each situation.
This comprehensive guide explains everything you need to know, from choosing the correct sash placement to creating professional-looking bows for every occasion. You’ll also discover common mistakes, fabric-specific tips, advanced styling ideas, and expert tricks that make your sash bow look like it was tied by a professional stylist.
What Is a Dress Sash?
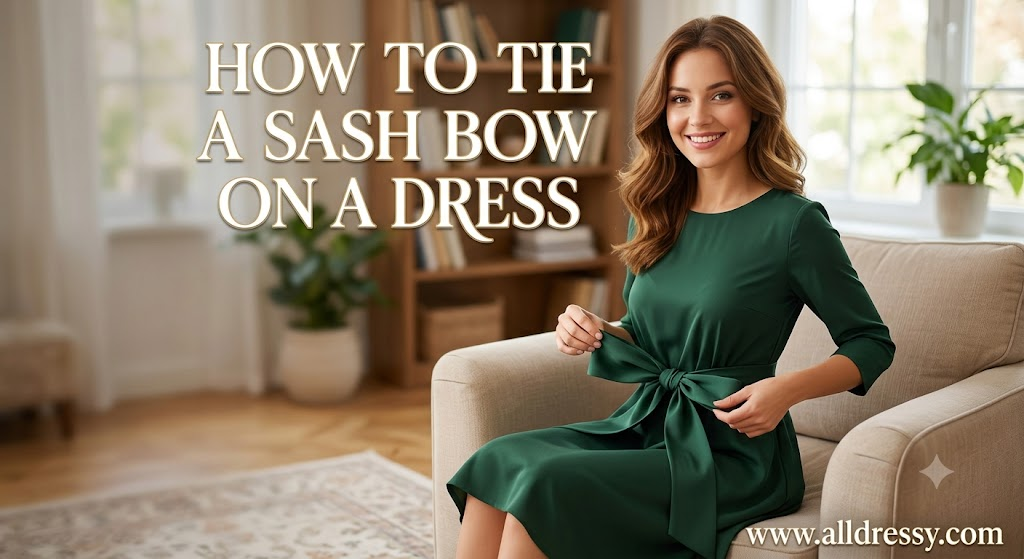
A dress sash is a long strip of fabric or ribbon designed to wrap around the waist or upper body before being tied into a knot or decorative bow.
Dress sashes can be made from:
- Satin
- Silk
- Organza
- Chiffon
- Velvet
- Cotton
- Linen
- Lace
- Tulle
- Grosgrain ribbon
The sash may already be attached to the dress or come as a removable accessory.
Besides decoration, a sash can:
- Define the waist
- Create an hourglass silhouette
- Add color contrast
- Highlight embellishments
- Improve dress fit
- Add elegance without altering the dress
Why Learning How to Tie a Sash Bow on a Dress Matters
A poorly tied bow can make even an expensive dress appear unfinished.
A properly tied sash bow provides:
- Balanced proportions
- Neat appearance
- Better waist definition
- Comfortable fit
- Secure hold throughout the day
- Elegant photographs
- Professional styling
Whether attending a wedding, graduation, birthday party, prom, or formal dinner, a beautiful sash bow enhances the overall outfit.
Different Types of Dress Sashes
Understanding your sash type helps determine the best tying method.
Attached Sash
This sash is sewn directly into the dress.
Advantages:
- Easy positioning
- Less slipping
- Consistent placement
Removable Sash
A separate ribbon or belt that wraps around the dress.
Benefits include:
- Interchangeable colors
- Multiple styling options
- Easy replacement
- Adjustable fit
Wide Sash
Usually between 3–6 inches wide.
Best for:
- Wedding gowns
- Evening dresses
- Bridesmaid dresses
Wide sashes create dramatic bows.
Narrow Sash
Usually under 2 inches wide.
Perfect for:
- Casual dresses
- Summer dresses
- Children’s clothing
- Vintage styles
Preparing Before You Tie the Bow
Preparation makes a significant difference.
Before tying:
- Steam wrinkles from the sash.
- Lay the fabric flat.
- Center the sash evenly.
- Decide where the bow will sit.
- Smooth twists.
- Check mirror alignment.
Proper preparation alone creates a much cleaner final look.
Best Placement for a Dress Sash
Back Bow
The classic option.
Ideal for:
- Wedding gowns
- Bridesmaid dresses
- Flower girl dresses
- Ball gowns
Advantages:
- Elegant
- Traditional
- Slimming appearance
Side Bow
A fashionable alternative.
Works well for:
- Cocktail dresses
- Wrap dresses
- Casual dresses
Benefits:
- Modern style
- Comfortable when sitting
- Creates asymmetrical interest
Front Bow
Often used on:
- Children’s dresses
- Casual dresses
- Vintage fashion
Creates a playful appearance.
How to Tie a Sash Bow on a Dress Step by Step
Now let’s learn the classic method.
Step 1: Center the Sash
Place equal lengths on both sides.
Check in a mirror that the sash is centered.
Step 2: Cross the Ends
Bring both ends behind the waist.
Cross one over the other.
Step 3: Tie the Base Knot
Pull tightly enough to secure the waist but not so tight that it wrinkles the dress.
The knot should remain centered.
Step 4: Create the First Loop
Fold one side into a loop similar to making bunny ears.
Keep the loop smooth.
Step 5: Wrap the Other Side
Take the opposite sash end around the first loop.
Step 6: Pull Through
Push a second loop through the opening.
Avoid twisting.
Step 7: Tighten Carefully
Pull both loops evenly.
Adjust until:
- Loops match
- Tails are equal
- Knot sits flat
Step 8: Shape the Bow
Fan out the loops.
Smooth wrinkles.
Straighten tails.
Fluff lightweight fabrics.
Your bow is complete.
How Tight Should the Sash Be?
The sash should:
- Stay secure
- Feel comfortable
- Allow breathing
- Keep the bow centered
A good rule:
You should comfortably fit one finger between the sash and your waist.
How to Tie a Large Statement Bow
Some dresses look best with oversized bows.
To create one:
- Leave longer tails.
- Make larger loops.
- Tighten gently.
- Spread loops outward.
- Fluff the fabric.
Large satin bows create luxurious volume.
How to Tie a Small Elegant Bow
Small bows complement minimalist fashion.
Use:
- Smaller loops
- Short tails
- Narrow sash
- Tight center knot
Perfect for office dresses and cocktail attire.
How to Tie a Double Bow
A double bow creates extra fullness.
Steps include:
- Tie the first bow.
- Add another set of loops.
- Layer carefully.
- Shape evenly.
This style works especially well for flower girl dresses.
How to Tie a Puffy Bow
Some fabrics naturally collapse.
To create volume:
- Fluff loops.
- Separate fabric layers.
- Steam lightly beforehand.
- Avoid pulling too tightly.
Organza responds especially well.
How Fabric Affects the Bow
Different fabrics behave differently.
Satin
Advantages:
- Luxurious shine
- Smooth appearance
Tips:
- Pull gently.
- Avoid twisting.
Organza
Benefits:
- Holds volume
- Creates dramatic bows
Requires gentle fluffing.
Silk
Beautiful but slippery.
Double-knot before making loops for extra security.
Velvet
Heavy fabric.
Smaller bows usually hold better.
Cotton
Easy to tie.
Excellent for beginners.
Chiffon
Very lightweight.
Keep loops slightly larger to prevent collapse.
Common Mistakes When Learning How to Tie a Sash Bow on a Dress
Uneven Loops
Usually caused by rushing.
Always adjust before tightening completely.
Twisted Fabric
Flatten the sash before tying.
Twists ruin symmetry.
Loose Knot
A weak foundation causes bows to loosen.
Secure the first knot properly.
Pulling Too Tight
Over-tightening wrinkles the dress.
Keep moderate tension.
Uneven Tails
Measure visually before tightening.
Equal tails improve balance.
Tips for Keeping the Bow Secure All Day
If attending a long event:
- Double-knot the base.
- Steam beforehand.
- Avoid slippery lotions on the sash.
- Check alignment periodically.
- Use hidden fashion tape if necessary.
Best Dress Styles for Sash Bows
A sash bow complements many dress designs.
Popular options include:
- A-line dresses
- Ball gowns
- Empire waist dresses
- Fit-and-flare dresses
- Sheath dresses
- Wrap dresses
- Bridesmaid dresses
- Flower girl dresses
- Evening gowns
- Maxi dresses
Styling a Sash Bow for Weddings
Wedding attire often includes decorative sashes.
Brides frequently choose:
- Satin bows
- Silk bows
- Organza bows
- Crystal-embellished sashes
Bridesmaids often wear matching bows for a cohesive bridal party look.
Styling a Sash Bow for Casual Dresses
Not every sash needs dramatic volume.
Casual outfits look beautiful with:
- Soft cotton bows
- Linen ties
- Side bows
- Relaxed loops
Keep the appearance effortless.
How to Tie a Sash Bow on a Child’s Dress
Children move constantly.
For better durability:
- Tie firmly.
- Double-knot underneath.
- Keep loops smaller.
- Shorten tails for safety.
This helps the bow remain neat throughout the day.
How to Retie a Wrinkled Sash
If the sash becomes wrinkled:
- Untie completely.
- Steam lightly.
- Smooth by hand.
- Let cool.
- Retie slowly.
Avoid ironing delicate fabrics directly.
Accessorizing Your Sash Bow
Enhance your bow with subtle decorative touches if appropriate for the occasion.
Popular embellishments include:
- Pearl brooches
- Rhinestone clips
- Floral pins
- Decorative buckles
- Lace overlays
Be careful not to overload the bow. One elegant accessory is usually enough to create a sophisticated look without distracting from the dress itself.
Matching Bow Size to Your Body Shape
The size of the bow can influence your overall silhouette.
Petite Figures
Smaller, neatly tied bows are often the most flattering because oversized bows can overwhelm a smaller frame.
Tall Figures
Larger bows with longer tails create visual balance and complement taller proportions.
Curvy Figures
Medium to large bows placed slightly off-center or at the back help define the waist while maintaining balanced proportions.
Athletic Figures
Full, rounded bows can add softness and create the illusion of more curves.
Choosing a bow size that suits your body type helps create a harmonious overall appearance.
Caring for Your Dress Sash
Proper care keeps your sash looking beautiful for years.
- Store removable sashes flat or loosely rolled.
- Avoid folding satin sharply to prevent creases.
- Hang dresses with attached sashes carefully so the fabric isn’t stretched.
- Spot-clean stains immediately according to the fabric type.
- Steam instead of ironing delicate materials whenever possible.
- Keep embellished sashes in protective garment bags to avoid snagging.
Here are SEO-optimized FAQs and a Conclusion that you can add to the end of your article.
FAQs
How do you tie a sash bow on a dress so it stays in place?
To keep a sash bow secure, start by tying a firm base knot before creating the bow. Pull the loops evenly and tighten them gently without twisting the fabric. If the sash is made from slippery material like satin or silk, you can tie a double knot underneath the bow or use a small piece of fashion tape to prevent it from slipping during the day.
Where should a sash bow be placed on a dress?
The most common placement is at the back of the waist, creating a classic and elegant appearance. However, a sash bow can also be tied on the side for a modern look or at the front for casual dresses and children’s outfits. The ideal placement depends on the dress style and the occasion.
What is the best fabric for a sash bow?
Satin and organza are among the most popular fabrics because they create beautiful, full bows. Satin offers a smooth, luxurious finish, while organza provides extra volume. Cotton and grosgrain ribbons are also excellent choices because they are easier to tie and stay in place better.
Why does my sash bow keep coming undone?
A sash bow usually comes undone because the initial knot is too loose, the loops are uneven, or the fabric is slippery. Tightening the foundation knot properly and adjusting both loops evenly can help the bow remain secure for several hours.
How can I make my sash bow look fuller?
To create a fuller bow, make larger loops, leave longer tails, and gently fluff the fabric after tying. Organza naturally holds more volume than silk or satin, making it easier to achieve a dramatic appearance.
Can I tie a sash bow on any type of dress?
Yes. Sash bows work well on wedding dresses, bridesmaid dresses, cocktail dresses, evening gowns, wrap dresses, A-line dresses, maxi dresses, flower girl dresses, and many casual dresses. The tying method may vary slightly depending on the dress design and sash material.
Should the bow be centered or tied to the side?
Both options are stylish. A centered bow at the back creates a timeless and formal look, while a side bow offers a fashionable, contemporary appearance. Your choice should match the dress design and the event.
How tight should a sash be around the waist?
The sash should fit snugly enough to stay in place without causing discomfort. You should be able to slide one finger comfortably between the sash and your waist. Over-tightening may wrinkle the dress and make the bow appear distorted.
Can you tie a sash bow without help?
Yes. While having someone assist can make tying a back bow easier, it is possible to tie a beautiful sash bow by yourself using a mirror. Practicing the technique several times will improve speed and symmetry.
How do I remove wrinkles from a sash before tying it?
The safest method is to steam the sash gently before tying it. If using an iron, choose the appropriate heat setting for the fabric and place a pressing cloth between the iron and delicate materials like satin or silk to avoid damage.
Conclusion
Knowing how to tie a sash bow on a dress is a valuable styling skill that can instantly enhance the appearance of almost any outfit. Whether you’re dressing for a wedding, formal event, party, graduation, or casual gathering, a neatly tied sash bow creates a polished, flattering finish that complements your dress and defines your waistline.
The key to a beautiful bow lies in proper preparation, selecting the right placement, creating balanced loops, and choosing a tying method that suits your sash fabric. With regular practice, you’ll be able to create elegant, secure bows that stay in place throughout the day and look professionally styled.
By applying the techniques, expert tips, and styling advice in this guide, you’ll confidently know how to tie a sash bow on a dress for every occasion, fabric type, and dress style, ensuring your outfit always looks refined, graceful, and perfectly finished.