
Learning how to attach mirror to dresser is a practical home improvement skill that can instantly upgrade the look, functionality, and value of your bedroom furniture. Whether you are setting up a new vanity area, upgrading an old dresser, or replacing a broken mirror, understanding how to attach mirror to dresser correctly ensures both safety and stability while achieving a clean, professional finish.
A dresser mirror is more than just a decorative addition. It helps with daily grooming, dressing, makeup application, and creating the illusion of a larger, brighter space. However, improper installation can lead to instability, wall damage, or even accidents if the mirror is not securely attached.
This detailed guide explains everything you need to know about how to attach mirror to dresser, including mounting methods, tools, safety precautions, hardware types, step-by-step installation techniques, and expert tips for achieving a durable and balanced setup.
Why Attaching a Mirror to a Dresser Matters
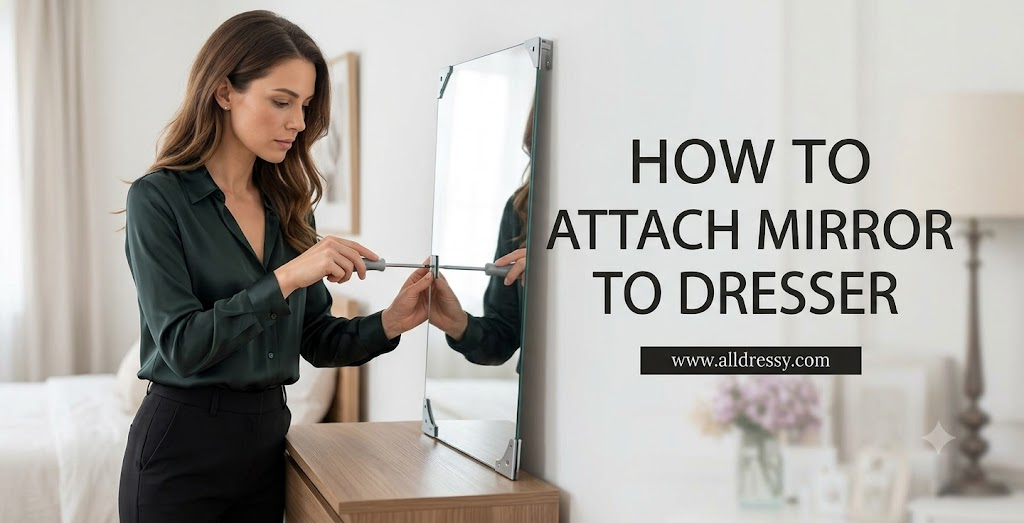
Before learning the installation process, it is important to understand why proper attachment is necessary.
Safety and Stability
A mirror that is not properly secured can:
- Fall and break
- Cause injury
- Damage the dresser
- Scratch flooring
Improved Functionality
A securely attached mirror makes daily routines easier:
- Dressing
- Makeup application
- Hair styling
- Grooming
Aesthetic Enhancement
A well-mounted mirror improves bedroom appearance by:
- Adding depth
- Increasing light reflection
- Creating a stylish focal point
Types of Dresser Mirror Attachments
There are several ways to attach a mirror to a dresser, depending on design and materials.
1. Direct Mounting on Dresser Frame
The mirror is screwed directly into the dresser back or top panel.
Advantages:
- Strong and stable
- Permanent installation
- Clean appearance
2. Adjustable Metal Brackets
Brackets connect the mirror frame to the dresser.
Advantages:
- Allows angle adjustment
- Easy replacement
- Common in vanity sets
3. Free-Standing Leaning Mirror
The mirror rests on the dresser without permanent attachment.
Advantages:
- No drilling required
- Flexible placement
- Easy to move
4. Wall and Dresser Hybrid Mount
The mirror is anchored both to the dresser and wall.
Advantages:
- Maximum stability
- Ideal for large mirrors
- Prevents tipping
Tools Needed to Attach Mirror to Dresser
Gathering the right tools ensures a smooth installation process.
Basic Tools
- Power drill
- Screwdriver set
- Measuring tape
- Pencil or marker
- Level tool
- Stud finder (if wall anchoring is used)
Hardware Materials
- Mounting brackets
- Screws (wood-compatible)
- L-brackets
- Mirror clips (optional)
- Anchors (for wall support)
- Rubber washers
Safety Equipment
- Gloves
- Safety glasses
Choosing the Right Mirror for a Dresser
Not all mirrors are suitable for dresser mounting.
Frame Material
Best options include:
- Wooden frames
- Metal frames
- Reinforced composite frames
Mirror Size
The mirror should be proportional to the dresser:
- Small dresser → small mirror
- Wide dresser → wide mirror
Weight Consideration
Heavier mirrors require stronger mounting hardware.
Preparing the Dresser Before Installation
Proper preparation improves safety and alignment.
Step 1: Clean the Surface
Remove dust and debris from the dresser top.
Step 2: Inspect Stability
Ensure the dresser is:
- Level
- Stable
- Not wobbly
Step 3: Mark Placement Area
Use a pencil to mark:
- Center alignment
- Height positioning
How to Attach Mirror to Dresser Step by Step
Step 1: Position the Mirror
Place the mirror on top of the dresser.
Adjust it to ensure:
- Center alignment
- Balanced spacing
- Proper height
Step 2: Mark Attachment Points
Use a pencil to mark where screws or brackets will go.
Double-check alignment before drilling.
Step 3: Install Mounting Brackets on Dresser
Attach brackets to the back edge or top surface.
Ensure:
- Tight screw fastening
- Even spacing
- Proper alignment
Step 4: Attach Brackets to Mirror Frame
Secure corresponding brackets to the mirror frame.
Be careful not to overtighten and damage the frame.
Step 5: Connect Mirror to Dresser
Align both sets of brackets and connect them securely.
Step 6: Check Level Alignment
Use a level tool to ensure the mirror is straight.
Adjust if necessary before final tightening.
Step 7: Tighten All Hardware
Secure all screws firmly, ensuring stability.
How to Attach Mirror to Dresser Without Drilling
If you want a non-permanent solution, there are alternatives.
Adhesive Mounting Strips
Strong adhesive strips can hold lightweight mirrors.
Advantages:
- No damage to furniture
- Easy installation
- Removable
Limitations:
- Not suitable for heavy mirrors
Anti-Slip Pads
Rubber pads help stabilize leaning mirrors.
Leaning Mirror Setup
Simply place the mirror against the wall and dresser without attachment.
Best for:
- Decorative mirrors
- Lightweight frames
How to Attach a Heavy Mirror to a Dresser
Heavy mirrors require extra support.
Use Metal L-Brackets
L-brackets provide strong reinforcement.
Add Wall Anchoring
For extra safety:
- Secure mirror to wall studs
- Combine dresser and wall support
Reinforce Dresser Back Panel
Older dressers may need reinforcement before installation.
How to Attach a Framed Mirror to a Dresser
Framed mirrors are the most common type.
Step 1: Inspect Frame Strength
Ensure frame is not cracked or loose.
Step 2: Install Rear Support Hooks
Many framed mirrors include built-in hooks.
Step 3: Secure with Screws
Attach screws through frame supports into dresser.
How to Attach a Vanity Mirror to a Dresser
Vanity mirrors often come with adjustable features.
Common Features
- Swivel joints
- Adjustable angles
- Built-in lighting
Installation Process
- Attach base plate to dresser
- Secure vertical support rod
- Mount mirror frame on top
How to Attach a Mirror to a Dresser with Wall Support
For maximum safety, wall anchoring is recommended.
Step 1: Locate Wall Studs
Use a stud finder.
Step 2: Install Wall Brackets
Secure brackets into studs.
Step 3: Connect Mirror Frame
Attach mirror to both dresser and wall.
Step 4: Test Stability
Ensure no forward movement occurs.
Common Mistakes When Attaching Mirror to Dresser
Incorrect Alignment
Uneven mirrors affect appearance.
Using Weak Screws
Low-quality screws may fail under weight.
Ignoring Weight Distribution
Heavy mirrors require balanced support.
Skipping Level Check
Always ensure the mirror is straight.
Over-Tightening Hardware
This can damage wood or frame materials.
Safety Tips for Mirror Installation
Always Use a Second Person
Mirrors are heavy and fragile.
Wear Protective Gloves
Prevents cuts from glass edges.
Avoid Installing on Uneven Furniture
Stability is essential.
Secure All Hardware Properly
Loose fittings can lead to accidents.
Best Placement Ideas for Dresser Mirrors
Centered Placement
Most common and visually balanced.
Off-Center Design
Creates a modern aesthetic.
Full-Width Mirror Setup
Ideal for large dressers.
Tilted Vanity Style
Useful for makeup application.
Maintaining a Dresser Mirror Setup
Regular Tightening
Check screws periodically.
Clean Carefully
Use non-abrasive cleaners.
Inspect for Looseness
Ensure continued stability.
Avoid Excess Pressure
Do not lean heavily on the mirror.
Enhancing the Look of a Dresser Mirror Setup
Add Lighting
LED strips or lamps improve visibility.
Decorative Frames
Upgrade appearance with stylish frames.
Matching Furniture Design
Coordinate mirror and dresser styles.
Benefits of Learning How to Attach Mirror to Dresser
Mastering this skill provides several advantages:
- Improved bedroom functionality
- Enhanced interior design
- Better grooming convenience
- Increased furniture stability
- Cost savings from DIY installation
- Customizable setup options
FAQs
What is the safest way to attach a mirror to a dresser?
The safest method is using metal brackets or L-brackets screwed into both the mirror frame and the dresser. For larger mirrors, combining dresser mounting with wall support provides maximum stability and prevents tipping.
Can I attach a mirror to a dresser without drilling?
Yes, lightweight mirrors can be attached using strong adhesive strips or anti-slip pads. However, these methods are not suitable for heavy mirrors and should only be used for small, lightweight frames.
Do all dressers support a mirror attachment?
Most sturdy dressers can support a mirror, but the strength depends on the dresser material and construction. Solid wood dressers are ideal, while weak or damaged furniture may need reinforcement first.
How do I know if my mirror is too heavy for my dresser?
If the mirror feels unstable when placed on top or requires excessive force to stay upright, it may be too heavy. In such cases, wall anchoring or reinforced brackets are recommended.
Should I attach the mirror to the wall or dresser?
For safety, attaching to both the dresser and wall is best, especially for large or heavy mirrors. This dual support system reduces the risk of tipping or movement.
What tools do I need to attach a mirror to a dresser?
Basic tools include a drill, screwdriver, screws, measuring tape, level tool, and mounting brackets. Safety gloves and protective glasses are also recommended.
Can I install a dresser mirror by myself?
Yes, but it is highly recommended to have another person assist you, especially when handling heavy or large mirrors, to ensure safety and proper alignment.
How do I keep the mirror level during installation?
Use a level tool while marking and securing the brackets. Adjust positioning before fully tightening screws to ensure the mirror remains perfectly straight.
What type of screws should I use?
Use wood screws for wooden dressers and appropriate anchors for wall-supported installations. Always choose screws that match the weight of the mirror for safety.
How do I maintain a dresser mirror after installation?
Regularly check screws and brackets for looseness, clean the mirror with a soft cloth, and avoid placing heavy pressure on it to ensure long-term stability.
Conclusion
Learning how to attach mirror to dresser is a valuable DIY skill that enhances both the functionality and appearance of your bedroom furniture. A properly installed mirror improves daily routines such as dressing and grooming while also making the space feel brighter and more open. By selecting the right mounting method, using secure hardware, and ensuring proper alignment, you can create a safe and stylish setup that lasts for years. Whether you choose direct mounting, bracket systems, or wall-supported installation, careful preparation and attention to detail are key to achieving a stable and professional result.