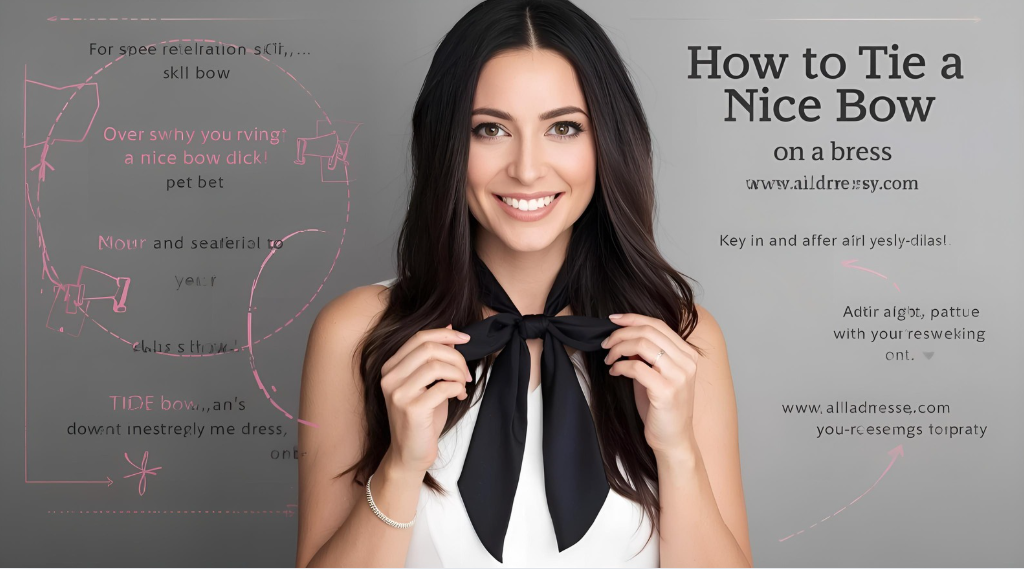
A bow can transform a simple dress into a statement of elegance, whimsy, or sophistication. Yet, the journey from a limp, lopsided knot to a crisp, voluminous bow can feel elusive. Mastering how to tie a nice bow on a dress is a subtle art that elevates your style, adding a finishing touch that speaks to an eye for detail. Whether it’s a satin sash on a cocktail dress, a fabric belt on a summer sundress, or a decorative ribbon on a gift, a perfectly executed bow is a hallmark of polished presentation.
This comprehensive guide is designed to demystify the process, providing a detailed, step-by-step roadmap to creating beautiful, balanced bows every time. We will move beyond the basic shoelace technique to explore methods for different fabrics, occasions, and desired aesthetics. Understanding how to tie a nice bow on a dress involves more than just looping strings; it’s about controlling proportion, creating volume, and achieving a sense of intentional grace. Whether you’re preparing for a wedding, a special event, or simply want to add a touch of charm to your everyday wear, this article will equip you with the skills to tie a bow that looks professionally crafted.
The Foundation: Understanding Bow Anatomy and Preparation
Before making the first loop, it’s crucial to understand what separates a “nice” bow from a haphazard one. A superior bow is defined by its balanced loops, taut centre knot, and symmetrical tails. The journey of learning how to tie a nice bow on a dress begins with the right preparation.
Deconstructing the Perfect Bow:
- The Centre Knot: This is the foundation. It should be tight, small, and neat, holding the entire structure together without being bulky.
- The Loops (Bunny Ears): These are the rounded, prominent parts of the bow. For a classic look, they should be symmetrical in size and shape.
- The Tails: These are the ends that hang down. They should be of even length and lie flat. The ideal tail length is often 1.5 to 2 times the length of the loops for a balanced proportion.
Essential Preparation for a Flawless Finish:
- Fabric Choice Matters: The material of your sash or ribbon is the most critical factor. Stiff fabrics like taffeta, grosgrain ribbon, or heavy satin hold their shape beautifully and are easier for beginners. Soft, slippery fabrics like chiffon or thin silk require more advanced techniques to prevent a droopy bow.
- The Iron is Your Secret Weapon: For a truly crisp bow, press your sash or ribbon flat before you begin. Creases and wrinkles will undermine the bow’s polished appearance. If you’re using a delicate fabric, use a pressing cloth to avoid shine or damage.
- Length is Everything: Ensure you have enough length to work with. A good rule of thumb is to have at least 36-40 inches of material for a standard dress bow. It is far easier to trim excess length later than to struggle with ends that are too short to form proper loops and tails.
Method One: The Classic “Bunny Ears” Technique
This is the most reliable and widely taught method for learning how to tie a nice bow on a dress. It provides excellent control over the size and symmetry of the loops.
Step-by-Step Breakdown:
- Position the Sash: Place the sash around your waist (or have a helper hold it against the dress). Ensure the ends are even. Cross the right end over the left end, just as you would when starting to tie your shoes.
- The Foundation Knot: Take the right end (which is now on the left side) and tuck it under the left end, pulling it through to create a simple, loose overhand knot. Pull both ends to tighten this base knot. This is not the bow itself, but the secure centre around which the bow will form.
- Form the “Bunny Ears”: Take the right-side ribbon and fold it back on itself to form a loop, pinching it at the base. This is your first “bunny ear.” Do the exact same thing with the left-side ribbon, creating a second, identical loop. The key is to make them the size you want your final bow loops to be.
- The Crucial Cross and Tuck: Cross the right loop over the left loop, just as you did with the flat ends in step one. You are now holding two crossed loops. With your other hand, find the small hole that has formed behind the cross. Tuck the top part of the right loop (the part you are holding) down through this hole.
- Tighten with Precision: You will now see the bow taking shape. Instead of pulling haphazardly, hold one loop in each hand and pull them in opposite directions, away from the centre. Pull slowly and firmly. As you pull, use your fingers to adjust and shape the loops and tails, ensuring everything is even. The goal is a tight centre knot with two proud, perky loops.
Method Two: The “One-Loop” or “Shoelace” Method (And Why It Often Fails)
Most people default to this method instinctively, as it’s how we tie our shoes. However, it frequently results in a lopsided, sloppy bow on a dress sash. Understanding its pitfalls is key to learning how to tie a nice bow on a dress.
The Standard Process:
- Create the same initial overhand knot as in the Bunny Ears method.
- Make a single loop with one end (the “bunny tree”).
- Wrap the other end around this loop and push a new loop through the hole created.
Why It Fails for Dress Bows:
- Lack of Control: You have very little control over the size of the second loop, which often ends up a different size from the first.
- Asymmetry: The wrapping action naturally creates a twisted, unbalanced structure.
- Difficulty with Wide Fabrics: This method is nearly impossible to execute neatly with wide sashes, as the “wrapping” action becomes bulky and awkward.
Pro Tip for the One-Loop Method: If you must use this method, after you’ve pulled the second loop through, do not pull it tight immediately. Instead, hold both loops and their corresponding tails, and adjust them individually for size and symmetry before slowly tightening the centre.
Advanced Techniques for a Perfect Finish
A truly beautiful bow requires finesse after the initial knot is tied. These advanced techniques are what set an amateur bow apart from a professional one.
1. The Art of Fluffing and Shaping:
Once the bow is tied, the work is not over. Do not just walk away!
- Gently pull on the loops from the back to add more volume.
- Tug gently on the tails to ensure they are even and the centre knot is tight.
- For a fuller look, separate the layers of the loops by gently pulling them apart from the centre. This works especially well with double-faced satin or grosgrain ribbon.
2. Creating the “Knot” Illusion:
Sometimes, the centre of the bow can look messy. A professional trick is to hide it.
- After tying the bow, locate the messy centre knot.
- Take a small, separate piece of the same ribbon (about 4-5 inches long).
- Wrap this piece around the centre of the bow, covering the knot.
- Secure it at the back with a few small, hidden hand stitches or a discreet dot of fabric glue. This creates a clean, crisp central “knot” and a much more polished appearance.
3. Working with Challenging Fabrics:
- For Slippery Silks and Chiffons: Starch the ribbon lightly before tying. Alternatively, use a small piece of double-sided fashion tape on the inside of the loops and tails to hold their shape in place.
- For Stiff Taffeta or Grosgrain: To create soft, rounded loops instead of stiff, flat ones, gently curl the ribbon over the edge of a table before tying. This “breaks” the fabric slightly, allowing it to form a more natural curve.
Styling Your Bow: Choosing the Right Look for Your Dress
Knowing how to tie a nice bow on a dress also means knowing where and how to style it. The bow’s placement and size can dramatically alter the dress’s silhouette.
1. The Classic Back Bow: This is the most common placement for sashes, creating an elegant focal point. A medium to large bow at the small of the back is timeless and flattering, emphasizing the waist.
2. The Asymmetrical Side Bow: For a modern, fashion-forward look, tie the bow at the hip. Keep the loops slightly smaller and ensure the tails cascade neatly down the side of the dress. This works beautifully with sheath and slip dresses.
3. The Front-Bib Bow: A large, dramatic bow tied at the front, just under the bust, can create a romantic, vintage-inspired look. This is often seen in 1950s-style dresses and is excellent for defining the waist and adding a touch of drama.
4. The Shoulder Bow: A small, delicate bow tied on one shoulder strap adds a touch of whimsy and femininity. This is perfect for summer sundresses or as a decorative detail on a formal gown.
Beyond the Basic: Creative Bow Variations
Once you’ve mastered the classic bow, you can experiment with more creative styles.
1. The Layered or “Double” Bow: Tie two bows of slightly different sizes using the Bunny Ears method. Layer the smaller bow on top of the larger one and stitch them together at the back. This creates incredible volume and a high-impact, couture look.
2. The “Floating” Bow: Instead of tying the bow directly onto the dress, create it separately. Take a length of ribbon, tie your perfect bow, and then hand-stitch it onto the dress at the desired location. This gives you maximum control and allows you to create the bow under ideal conditions.
3. The Asymmetric Loop Bow: For a deliberately deconstructed, high-fashion look, use the Bunny Ears method but intentionally make one loop much larger than the other. Fluff and shape them differently—one tight and neat, the other loose and flowing.
Frequently Asked Questions (FAQs)
How do you keep a bow from coming undone on a dress?
Security starts with a tight centre knot in the initial “bunny ears” method. For ultimate security, especially on a dress you’ll be active in, add a few discreet hand stitches through the back of the bow’s centre knot and into the dress fabric or the underlying sash. A small dot of fabric glue on the knot can also work for temporary wear.
What is the best type of ribbon for a bow that holds its shape?
Grosgrain ribbon is the undisputed champion for bows that hold their shape. Its ribbed texture provides grip, preventing slipping, and it is stiff enough to create perky loops without wilting. Double-faced satin (satin on both sides) is a good second choice, though it may require more shaping. Avoid single-faced satin and very thin, soft ribbons like chiffon for structured bows.
Why does my bow always look lopsided?
Lopsided bows are almost always caused by uneven tension during the tightening phase. When you pull the loops tight, you must pull with equal force on both sides. Furthermore, using the “one-loop” shoelace method is a primary culprit. Switching to the “bunny ears” technique, where you create both loops simultaneously, gives you immediate and equal control over their size.
How long should the tails of my bow be?
For a balanced and aesthetically pleasing look, the tails should be approximately 1.5 to 2 times the length of the loops. For example, if your loops are 4 inches long, your tails should be 6 to 8 inches long. Before trimming, always try the dress on to ensure the tail length is flattering to your height and the dress’s proportions.
Can I tie a nice bow with one hand?
Tying a truly symmetrical, balanced bow requires two hands for proper tension and adjustment. While it is possible to tie a basic functional knot with one hand, achieving the “nice” bow described in this guide demands the control that comes from using both hands to form, cross, and tighten the loops symmetrically.
Conclusion: The Final Touch of Elegance
Mastering how to tie a nice bow on a dress is a skill that pays endless dividends in your personal style. It is a small, yet powerful, detail that conveys care, creativity, and a commitment to looking your best. From the crisp symmetry of a grosgrain bow on a party dress to the soft, romantic flourish of a satin sash on a wedding gown, this ability allows you to add a personalized signature to any outfit.
This guide has provided you with a deep understanding of bow anatomy, a reliable step-by-step method, and professional finishing techniques that transform a simple knot into a work of art. The journey from a clumsy tangle to a perfectly proportioned bow is one of patience and practice. So, find a spare piece of ribbon, follow the steps, and repeat until the motion becomes second nature. With this knowledge, you are now equipped to add that final, flawless touch of elegance to any dress, ensuring you are perfectly finished from every angle.