
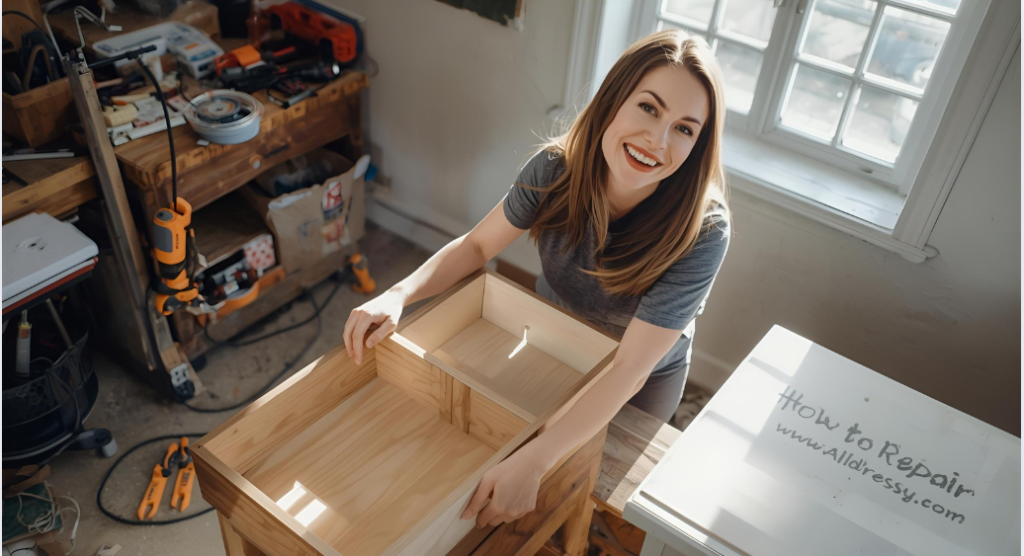
Of all the furniture in a home, the dresser is a silent workhorse. It holds our clothes, our secrets, and often, the clutter we quickly shove away. But when a drawer starts to stick, sag, or fall apart completely, this everyday essential becomes a source of daily frustration. The good news is that learning how to repair dresser drawers is a highly achievable DIY project that can save you money, extend the life of your furniture, and provide a great sense of accomplishment. Whether it’s a stubborn slide, a broken guide, or a drawer bottom that’s given way, most common issues have straightforward solutions. This comprehensive, 2000-word guide will serve as your ultimate manual, walking you through the diagnosis and repair of virtually every common dresser drawer ailment. We will delve deeper than standard guides, covering everything from simple lubrication to advanced woodworking repairs, ensuring you have the confidence and knowledge to tackle any problem and restore smooth, silent function to your bedroom or living room.
Diagnosing the Problem: A Step-by-Step Assessment
Before you grab your tools, the most critical step in understanding how to repair dresser drawers is to correctly diagnose the issue. A misdiagnosis can lead to unnecessary work or even cause further damage. Follow this systematic assessment:
- The Visual Inspection: Remove the problematic drawer completely. This is non-negotiable. Lay it on a flat surface and give it a thorough look-over.
- Check the Structure: Look for obvious splits in the wood, broken corners, or nails/screws that have worked their way loose.
- Examine the Bottom: Press down on the drawer bottom. Does it flex or bow? This is a common failure point, especially in older, solid-wood drawers where the wood panel expands and contracts.
- Inspect the Joinery: Look at the dovetail or box joints at the corners. Are they separating? Is there a significant gap?
- The Slide and Guide Examination: Look inside the empty dresser cavity.
- Wood-on-Wood Guides: Many older dressers have wooden rails inside the cabinet that the drawer slides against. Are these rails worn down? Are they loose?
- Center Guides: Some dressers have a single wooden guide on the drawer and a corresponding groove on the dresser frame. Is this guide broken or missing?
- Modern Slide Systems: For metal ball-bearing slides, check for bends in the metal, broken plastic clips, or a build-up of grime. See if the left and right slides are level and properly aligned.
- The “Test Fit” Without Contents: Place the empty drawer back into the cavity. Does it slide in easily? Note exactly where it begins to bind or stick. This tells you the location of the problem—front, back, left, or right side.
Gathering Your Toolkit: Essentials for Dresser Drawer Repair
You don’t need a professional workshop, but having the right tools is essential for learning how to repair dresser drawers effectively. Here’s a list of what you’ll likely need:
- Basic Tools: Phillips and flat-head screwdrivers, a claw hammer, a rubber mallet, a putty knife, a utility knife.
- Measuring & Marking Tools: A tape measure, a combination square, a pencil.
- Clamping & Gluing: Wood glue (like Titebond II), several bar clamps or pipe clamps in various sizes, painter’s tape.
- Sanding & Finishing: 120-grit and 220-grit sandpaper, a sanding block, wood stain or finish to match your dresser, wood filler or wax sticks for repairs.
- Advanced Tools (for more serious repairs): A cordless drill/driver, a set of drill bits, a small pull-saw, a chisel, wood screws of various lengths.
Common Problems and Their Solutions: Your Repair Manual
Now, let’s get into the specific issues and the step-by-step processes to fix them.
Problem 1: Sticking or Dragging Drawers
This is the most frequent complaint and often the easiest to fix.
- Cause: Swelling from humidity, a build-up of dirt and wax, or minor warping.
- Solution A: Clean and Lubricate. Remove the drawer. Use a damp cloth to wipe down the sides of the drawer and the inner rails of the dresser. Once dry, apply a dry lubricant. Do not use WD-40 as a long-term lubricant; it attracts dust. Instead, use a paraffin wax candle (rub it directly on the wood contact points), a dry silicone spray, or specialized drawer slide wax. This alone solves a vast majority of sticking problems.
- Solution B: Identify and Sand High Spots. If lubrication doesn’t work, the wood itself may have swelled. Look for shiny, worn areas on the drawer sides—these are the high spots rubbing against the frame. Use 120-grit sandpaper to gently sand these areas down. Go slowly and test-fit frequently. You can’t put wood back once it’s sanded off.
Problem 2: Broken or Loose Wooden Drawer Slides
Older dressers often rely on a simple wooden rail system.
- Cause: Wear and tear, loose joints, or physical impact.
- Solution A: Tighten and Secure. If the rails are just loose, apply wood glue to the joint and re-secure them with fresh screws. Clamp until the glue dries.
- Solution B: The Tape Trick for Worn Rails. If the rails are grooved or worn but not broken, you can create a new, smooth surface. Clean the rail thoroughly and apply a strip of wide, slick packaging tape to the surface the drawer rubs against. This creates a very low-friction surface that is surprisingly durable.
- Solution C: Replace the Rails. If a rail is broken, you will need to replace it. Carefully remove the old rail. Use it as a template to cut a new piece of hardwood (like maple or oak, which is durable). Attach the new rail with wood glue and screws, ensuring it is perfectly aligned with the opposing rail.
Problem 3: Wobbly Drawers (Loose Joints)
The drawer itself feels unstable and rocks when you pull it.
- Cause: Failed glue in the dovetail or box joints.
- Solution: Re-gluing the Joints.
- You need to get glue into the loose joints. If possible, carefully disassemble the drawer by gently tapping it apart with a rubber mallet.
- Scrape away all the old, dried glue from both mating surfaces using a putty knife or chisel.
- Apply a generous amount of wood glue to all surfaces of the joint.
- Reassemble the drawer and use bar clamps to pull the joints tight. Wipe away any excess glue with a damp cloth immediately.
- Do not overtighten the clamps, as this can distort the shape of the drawer. Let the glue cure for at least 24 hours before using the drawer again.
Problem 4: A Sagging or Broken Drawer Bottom
The bottom of the drawer sags down, potentially catching on the frame below.
- Cause: The thin plywood or solid wood panel has weakened or the groove it sits in has failed.
- Solution A: Reinforce from Beneath. If the bottom is sagging but not broken, you can add a support cleat.
- Cut a piece of 1×2 lumber to a length that is about 1 inch shorter than the width of the drawer.
- Apply wood glue to the cleat and position it centered under the sagging area, perpendicular to the direction of the sag.
- Secure it with several small wood screws driven up through the cleat and into the drawer bottom.
- Solution B: Replace the Drawer Bottom. If the bottom is cracked or broken, it must be replaced.
- Carefully disassemble the drawer if possible. If it’s glued solid, you may need to remove the bottom by prying it out of its grooves.
- Use the old bottom as a template to cut a new one from 1/4″ or 1/2″ plywood. Important: The new bottom must be slightly smaller than the original to account for wood expansion. A 1/8-inch gap around the entire perimeter is ideal.
- Slide the new bottom into the grooves and reassemble the drawer.
Problem 5: Damaged Metal Ball-Bearing Slides
Modern dressers use efficient but sometimes fragile slide systems.
- Cause: Bent components, broken plastic release tabs, or misalignment.
- Solution A: Realignment. The most common issue is that the slides are out of sync.
- Remove both drawers adjacent to the problematic one.
- Loosen, but do not remove, the screws holding the cabinet part of the slide.
- Gently tap the slide into the correct position, using a level to ensure it’s perfectly straight and the left/right sides are at the same height.
- Re-tighten the screws and test the drawer.
- Solution B: Replacement. If a slide is bent or broken, you must replace it. Slides are sold in pairs. You must remove the old ones and install the new ones exactly according to the manufacturer’s instructions, paying close attention to measurements for left/right and front/back positioning.
Advanced Repair: How to Repair Dresser Drawers with a Broken Guide or Runner
Sometimes, the part of the drawer that actually slides—the runner—breaks off. This is a more advanced repair but very doable.
- Assessment: You have a piece of wood that has splintered off the bottom edge of the drawer side.
- Preparation: Use a sharp chisel and a small pull-saw to clean up the broken area, creating a flat, square surface.
- Fabricate a New Runner: Cut a new piece of hardwood to match the dimensions of the missing runner. It should be the same thickness, width, and length.
- Joinery: For a strong joint, don’t just glue the new piece on the surface. Cut a “rabbet” or stepped joint. Glue and clamp the new runner into place. For immense strength, you can also drill pilot holes and use small, counter-sunk wood screws from the inside of the drawer side into the new runner. Fill the screw holes with wood filler.
- Finishing: Once the glue is dry, use a chisel and sandpaper to shape the new runner so it matches the contour of the old one and slides smoothly.
Preventative Maintenance: Keeping Your Drawers in Top Shape
Knowing how to repair dresser drawers is great, but preventing the need for repairs is even better.
- Avoid Overloading: Do not overfill your drawers. Excessive weight puts strain on the joints, slides, and bottom panel.
- Lubricate Annually: Once a year, give all drawer slides a quick cleaning and application of paraffin wax or silicone spray.
- Lift While Pulling: Get into the habit of lifting the front of the drawer slightly as you pull it out. This prevents the front corner from dragging and wearing down.
- Check Screws: Periodically, go around and tighten any screws on the drawer slides and handles.
FAQs: Your Dresser Drawer Repair Questions Answered
Can I use wood glue alone to repair a broken drawer?
For joints that are under constant stress, like drawer joints, wood glue is actually stronger than the wood itself if the joint is well-fitted. However, for added insurance, especially on a heavily-used drawer, using a combination of wood glue and a mechanical fastener like a screw or nail is recommended. The glue holds the wood fibers together, while the fastener provides clamping force and shear strength.
What is the best wood glue for repairing dresser drawers?
A high-quality PVA (polyvinyl acetate) wood glue, such as Titebond II or Titebond III, is the industry standard. Titebond II is water-resistant and strong for most indoor applications. Titebond III is fully waterproof and has a slightly longer open time, making it excellent for complex clamps. Either is a fantastic choice for drawer repair.
My drawer is made of particleboard and the screw holes are stripped. How can I fix it?
Particleboard is notorious for losing its grip. The best solution is to use a two-part epoxy or a specialized particleboard repair compound. Clean out the stripped hole, fill it with the epoxy, and let it cure completely. Then, you can drill a new pilot hole and drive the screw into the hardened epoxy. For slide attachments, you can also relocate the screws to a new, undamaged part of the particleboard.
Is it worth repairing a cheap, old dresser?
This depends on its value to you. If it’s a sentimental piece or made of solid wood, it is almost always worth repairing. The cost of materials is low, and the skills you learn are valuable. If it’s a low-quality, laminated particleboard dresser that is falling apart in multiple places, your time and effort may be better spent on a new one. However, a simple drawer slide repair can still extend its life significantly.
How do I fix a drawer that won’t close all the way?
This is usually an alignment or obstruction issue. First, remove the drawer and check for an item of clothing caught in the back. If clear, check if the drawer is sitting squarely in its opening. The metal slides may be misaligned, or the wooden guides may be worn. Lubricate the slides and check for any high spots on the drawer or frame that might be preventing it from closing fully.
Conclusion
Learning how to repair dresser drawers is a empowering journey into the world of home maintenance and woodworking. What might seem like a daunting malfunction is almost always a simple issue of friction, a loose connection, or a minor break that can be rectified with patience and the right technique. From the simple application of wax to the more involved process of re-gluing joints or replacing a bottom, you now possess the knowledge to diagnose the problem, gather your tools, and execute a repair that will restore both form and function to your furniture. This not only saves you the cost of a professional repair or a new dresser but also fosters a deeper connection and sense of pride in the items you use every day. So, the next time a drawer sticks or wobbles, don’t see it as a nuisance. See it as an opportunity to roll up your sleeves, apply your new skills, and enjoy the satisfying slide of a perfectly repaired dresser drawer.