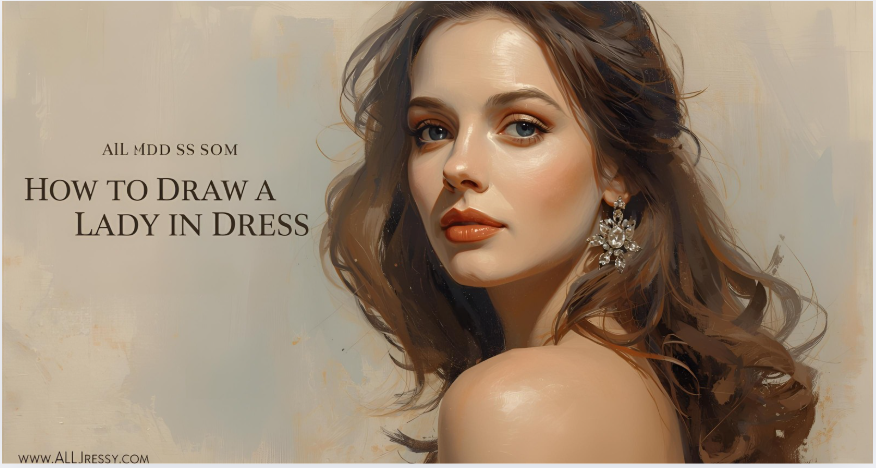
Drawing a lady in a dress is one of the most graceful and creative subjects in art. Whether you’re sketching for fashion design, character illustration, or personal creativity, mastering how to draw a lady in a dress will elevate your artistic skills and bring elegance to your portfolio.
This comprehensive 2000-word guide explains everything you need to know — from basic anatomy to fabric folds, shading, and style variations. Designed for beginners and intermediate artists, it helps you understand proportion, posture, and the delicate flow of dresses to make your drawing realistic and full of life.
💖 Introduction: Why Learn How to Draw a Lady in a Dress
Learning how to draw a lady in a dress teaches you more than just figure drawing. It’s a blend of human anatomy, fashion design, and fabric dynamics. A dress adds beauty and complexity to your sketch, allowing you to practice curves, folds, and texture representation.
Dresses also express personality — flowing gowns convey elegance, tight silhouettes show confidence, and frilled designs represent charm. By mastering this art form, you gain control over character emotion, movement, and aesthetic storytelling.
In this guide, we’ll explore how to draw a lady in a dress step-by-step, with advanced tips to make your artwork more detailed and professional.
✏️ What You Need Before Drawing
Before you start drawing a lady in a dress, prepare your materials. The right tools ensure clean lines and smooth shading.
Essential Materials:
- Sketchbook or quality drawing paper
- HB, 2B, and 4B pencils (for light and dark tones)
- Eraser and sharpener
- Ruler for guidelines and symmetry
- Blending stump or cotton pad
- Fineliner or ink pen (for outlines)
- Colored pencils or markers (optional for coloring)
🧍♀️ Understanding Body Proportion Before You Draw a Lady in a Dress
Before sketching the dress, you must understand the proportions of the female figure. Without a balanced foundation, the dress won’t drape correctly.
Key Proportion Tips:
- Head height: 1 unit
- Upper body (neck to waist): 2 units
- Lower body (waist to feet): 4 units
- Shoulders slightly narrower than hips for feminine proportion
- Waistline at about the halfway point between shoulders and knees
Always start with a light body framework. This ensures accuracy before adding the dress and details.
🩰 Step-by-Step Guide: How to Draw a Lady in a Dress
Let’s go through each stage in detail, so you can follow easily and create a polished, professional sketch.
Step 1: Draw the Base Figure
Start with the skeleton of your drawing.
- Lightly sketch a vertical line as your center of balance.
- Add circles for head, shoulders, and joints (elbows, hips, knees).
- Connect them with smooth lines to create posture.
- Keep the pose natural — a standing, walking, or twirling motion works best for dresses.
🖊️ Pro Tip: Use reference photos of models to study natural posture and weight distribution.
Step 2: Sketch the Basic Body Shape
Add structure to your skeleton by sketching the body’s outline:
- Draw the neck, shoulders, torso, and hips.
- Keep curves soft and proportional.
- Lightly define arms and legs.
Remember, this figure is only a base for your dress, so keep it light.
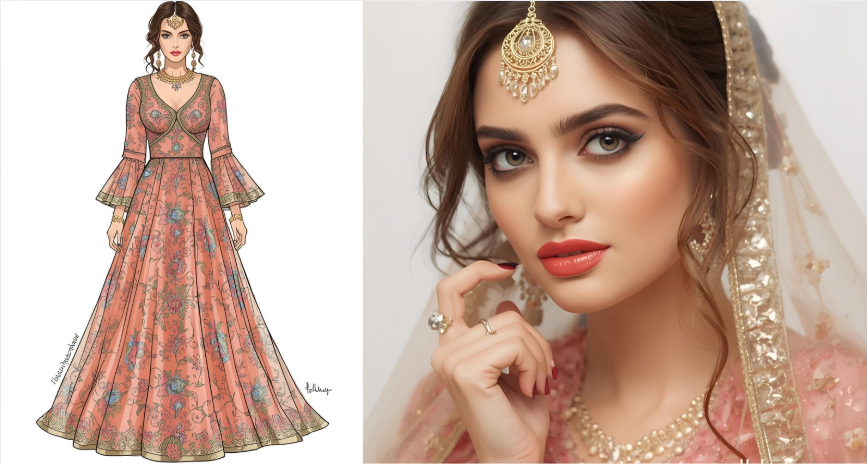
Step 3: Choose the Dress Style
The style of the dress determines the silhouette and mood of your drawing.
Popular Dress Types for Drawing:
- A-Line Dress: Simple and elegant, flares slightly from the waist.
- Ball Gown: Large and dramatic with layers.
- Sheath Dress: Fitted and modern.
- Mermaid Dress: Tight on top, flaring below the knees.
- Casual Summer Dress: Flowing, light, and playful.
Choose the one that matches your concept or story.
Step 4: Draw the Dress Silhouette
Now it’s time to sketch the outer shape of the dress over your lady’s body.
- Follow the waistline and outline how the fabric flows.
- Use long, confident curved lines for the skirt.
- The dress should hang naturally according to gravity and pose.
🩵 Tip: If she’s walking, tilt the dress slightly backward. If she’s spinning, widen the lower hem.
Step 5: Add Dress Details
This is where creativity shines. Add neckline, sleeves, and design details:
- Sweetheart, off-shoulder, or halter neckline
- Puff sleeves, cap sleeves, or sleeveless style
- Belts, bows, ribbons, or embroidery
Keep details balanced — too many can overwhelm the sketch.
Step 6: Draw the Fabric Folds
Fabric is what makes a dress look realistic. Folds create texture and movement.
To draw folds:
- Observe where fabric gathers (around waist, elbows, or knees).
- Use soft, curved lines for natural drapes.
- Shade deeper where fabric overlaps.
Types of folds:
- U-folds: Hanging folds caused by gravity.
- Zigzag folds: Common in skirts or pleats.
- Spiral folds: Seen in twisting poses or twirling motion.
🎨 Pro Tip: Always remember that heavier fabric = fewer, wider folds; lighter fabric = more, finer folds.
Step 7: Add Frills and Layers
If your dress includes frills, lace, or tulle layers, sketch them next.
- Draw wavy lines for frills and ruffles.
- Add parallel lines beneath each wave to create depth.
- Stack multiple layers for ball gowns or formal dresses.
Use irregular curves to make them look natural, not mechanical.
Step 8: Refine the Outline
Once satisfied with your sketch:
- Trace over clean, confident lines using a fineliner or dark pencil.
- Erase construction and guideline marks.
- Smooth the flow of the skirt and hair.
Your drawing should now look refined and balanced.
Step 9: Shading and Lighting
Shading transforms a flat drawing into a realistic one.
Steps for effective shading:
- Identify your light source (top left, top right, etc.).
- Shade opposite sides of the folds for contrast.
- Darken underneath arms, folds, and behind legs.
- Blend using tissue or blending stump for soft fabric texture.
🪞 Pro Tip: For shiny fabrics (like satin), use strong highlights and dark shadows close together.
Step 10: Add Final Touches
Now add finishing elements to enhance realism:
- Hair details, jewelry, or accessories
- Flowing motion lines around the dress
- Background hint (e.g., ballroom, nature, or catwalk)
These touches help complete the story and emotion behind your drawing.
🌹 Advanced Tips for Drawing a Lady in a Dress
To make your art stand out from competitors, here are expert techniques professionals use.
1. Understand Fabric Behavior
Different fabrics fall and fold differently:
- Silk: Smooth and reflective with gentle folds.
- Cotton: Matte and soft with simple curves.
- Chiffon: Transparent and flowing.
- Tulle: Puffy and airy.
Practice drawing each texture separately.
2. Master Gesture Drawing
Gesture drawing helps capture natural motion. Spend 1–2 minutes sketching quick poses to understand rhythm and energy. It’s great for drawing dresses that move gracefully.
3. Use Line Weight for Depth
- Thicker lines = shadows or closer areas.
- Thinner lines = distant or lighter fabric.
This adds dimension without heavy shading.
4. Add Motion to Dresses
If your lady is walking, twirling, or bowing, show fabric motion:
- Skirt edges bend or lift slightly.
- Hair and ribbons follow the same motion direction.
This gives your art a dynamic, storytelling quality.
5. Draw Emotion Through Posture
The way your lady stands changes the tone of the image:
- Straight back = confidence.
- Tilted head = shyness or curiosity.
- Twirling posture = joy or playfulness.
Combine emotion and fashion for a complete artistic impact.
💃 Different Styles of Drawing a Lady in a Dress
Each dress style conveys a unique mood. Practice multiple types to expand your skill.
| Dress Style | Artistic Effect | Drawing Focus |
|---|---|---|
| Evening Gown | Elegant & formal | Long smooth curves, detailed folds |
| Casual Dress | Relaxed & youthful | Simple lines, soft shading |
| Ball Gown | Dramatic & grand | Layered ruffles, large shape |
| Traditional Dress | Cultural & expressive | Patterns, embroidery, accessories |
| Modern Fashion Dress | Trendy & chic | Sharp silhouette, minimal folds |
✨ Shading Techniques for Realistic Dresses
Mastering shading can take your drawing from simple to spectacular.
Light and Shadow Rules:
- Lightest parts: top of shoulders, chest, and raised skirt folds.
- Mid-tones: side curves and mid-skirt areas.
- Darkest areas: under folds, behind knees, or beneath arms.
Use cross-hatching, gradient shading, or stumping depending on your desired style.
🖌️ Bonus Tip: Try layering graphite and eraser highlights for realistic shimmer on satin or silk dresses.
🎨 Coloring the Dress (Optional but Powerful)
If you want to add color:
- Use colored pencils for a soft finish.
- Layer light to dark shades gradually.
- Blend with a tissue or colorless blender.
- Keep highlights in white areas for shine.
Popular color palettes:
- Soft pink, cream, lavender for romance
- Black, red, royal blue for drama
- White and silver for elegance
Color enhances emotion and realism, especially in fashion illustrations.
🧠 Common Mistakes to Avoid
When learning how to draw a lady in a dress, watch out for these frequent errors:
- Flat folds: Add curvature and direction to make them flow naturally.
- Symmetrical ruffles: Natural frills vary slightly — avoid perfect repetition.
- Incorrect proportions: Always check waist-to-hip balance.
- Over-shading: Keep contrast moderate to maintain softness.
- Ignoring gravity: Fabric must always fall logically with weight and pose.
Avoiding these mistakes ensures your drawing remains elegant and lifelike.
🌼 Practicing with Real References
Study photographs of dresses, fashion magazines, or runway models. Observe:
- How light hits fabric
- Where folds appear naturally
- How color gradients change with movement
Real-life observation is the best way to improve quickly and accurately.
💬 FAQs About How to Draw a Lady in a Dress
Q1: How do I start drawing a lady in a dress as a beginner?
Start with a simple standing pose. Draw basic body proportions lightly, then outline a simple dress silhouette. Add folds and details once the base looks balanced.
Q2: What kind of dress should I practice first?
Start with an A-line dress—it’s simple, elegant, and easy to understand in terms of gravity and folds.
Q3: How can I make the dress look realistic?
Focus on shading and light source. Deeper shadows under folds and bright highlights on raised areas create realism.
Q4: How do I draw lace or frilly details?
Use tiny repetitive wavy or floral lines. You don’t need to draw every stitch—just imply the texture with patterns.
Q5: What’s the best pose for drawing a lady in a dress?
Standing or twirling poses are most popular because they show the full flow and movement of the fabric.
Q6: How can I draw dresses digitally?
Use layers for base sketch, line art, and color. Apply soft brushes for folds and highlights, and use blending tools for smooth fabric effects.
Q7: How long does it take to master drawing dresses?
With daily practice, you can develop noticeable improvement in 2–3 weeks. Consistent repetition builds muscle memory and observation skills.
Q8: What’s the hardest part of drawing a lady in a dress?
The most challenging aspect is balancing anatomy with fabric movement. Once you understand both, the process becomes natural and fun.
Q9: Should I draw the body fully under the dress?
Yes, lightly sketching the figure underneath ensures correct fabric flow and body proportion.
Q10: How do I add depth without making it too dark?
Use soft gradients, blend your shading, and vary line thickness. Avoid pressing too hard with your pencil.
🌸 Conclusion: Mastering How to Draw a Lady in a Dress
Learning how to draw a lady in a dress is an artistic journey combining anatomy, fashion, and texture. With patience and observation, you can bring elegance, motion, and realism into every sketch.
Remember:
- Always start with accurate body proportion.
- Choose a pose that fits your concept.
- Build the dress silhouette naturally around the body.
- Use shading and fabric flow to bring life to your art.
- Practice multiple styles — from modern chic to vintage gowns.
Every dress tells a story. Whether you’re sketching a fairytale princess, a model on the runway, or a casual summer look, your lines, curves, and details define emotion and style.
With consistent practice and the guidance from this detailed 2000-word tutorial, you’ll soon be creating stunning, professional-quality illustrations of ladies in dresses that stand out in both realism and creativity.