
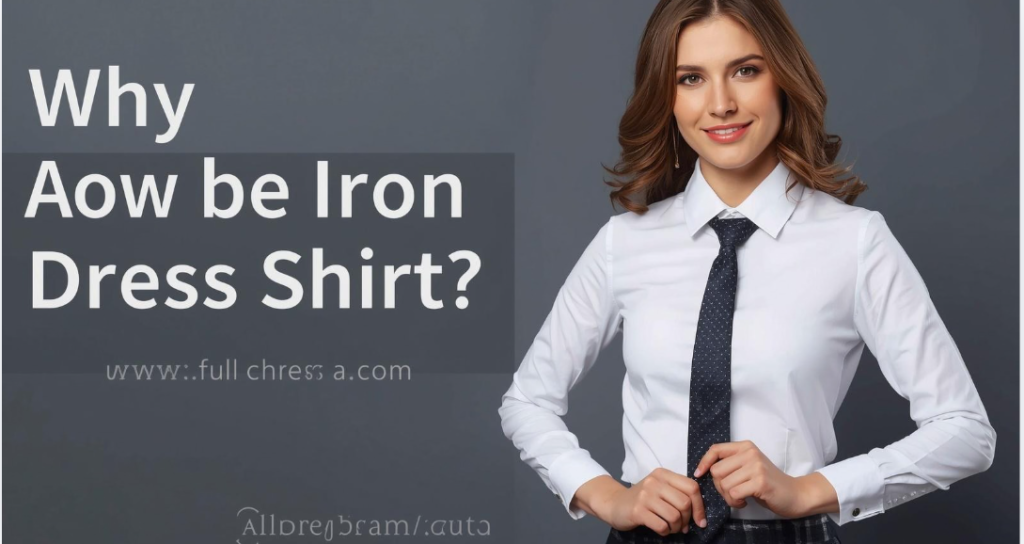
Ironing a dress shirt might seem like a simple chore, but achieving a crisp, professional look requires proper technique, the right tools, and attention to detail. Many people struggle with wrinkles, fabric damage, or uneven results. In this comprehensive guide, we will explore everything you need to know about how to iron a dress shirt like a professional, whether for work, formal events, or daily wear.
Understanding the Basics of Ironing a Dress Shirt
Before diving into techniques, it’s crucial to understand the foundation of how to iron a dress shirt correctly. Ironing is not just about pressing a hot surface against fabric; it involves managing heat, moisture, and fabric structure to achieve a smooth and polished result.
Why Proper Ironing Matters
Ironing a dress shirt properly:
- Enhances personal appearance and confidence.
- Prolongs the life of the shirt by preventing fabric damage.
- Ensures a neat, professional impression for business or formal settings.
Skipping proper techniques often results in wrinkled shirts, scorched fabrics, or uneven creases, which can make even a high-quality shirt appear sloppy.
Essential Tools for Ironing a Dress Shirt
To master how to iron a dress shirt, having the right tools is essential. Here’s what you’ll need:
- A Quality Iron: Choose an iron with adjustable temperature settings and a steam function. Modern irons with ceramic or non-stick plates help glide over fabrics smoothly.
- Ironing Board: A stable, padded ironing board provides the ideal surface for pressing shirts without creating new wrinkles.
- Spray Bottle with Water: Lightly misting stubborn wrinkles helps relax fibers for smoother results.
- Starch or Fabric Spray (Optional): For a crisp finish, especially on collars and cuffs, starch can help maintain shape.
- Lint Roller: Removes lint or debris before ironing for a clean, polished look.
Using quality tools is the first step toward professional-looking results.
Preparing the Dress Shirt for Ironing

Preparation is a critical step in how to iron a dress shirt. Rushing into ironing a shirt straight from the laundry can damage fabric and create uneven results.
Step 1: Wash and Dry Properly
- Always follow the care label on the shirt for water temperature and drying instructions.
- Remove the shirt from the dryer while slightly damp. If the shirt has dried completely, lightly spray it with water before ironing.
Step 2: Set Up the Ironing Station
- Adjust your iron to the appropriate setting for the shirt fabric (e.g., cotton, linen, polyester blend).
- Ensure the ironing board is stable and at a comfortable height.
Step 3: Remove Accessories
- Take off buttons, cufflinks, or pins to prevent snagging.
- Check pockets for items that could create bumps or impressions.
Step-by-Step Process: How to Iron a Dress Shirt
The key to perfect ironing lies in the sequence. Start with small areas and work your way to larger sections for smooth, wrinkle-free results.
Step 1: Start with the Collar
The collar is often the most noticeable part of a shirt, so ironing it first sets a professional tone.
- Pop the collar and lay it flat on the ironing board.
- Start at the tips and press toward the center.
- If using starch, lightly spray and press for a crisp look.
Step 2: Iron the Cuffs
Cuffs can get wrinkled from everyday wear and washing.
- Unbutton and lay the cuff flat.
- Press from the edges inward to maintain shape.
- Use steam for thick or stiff fabrics.
Step 3: Tackling the Sleeves
Ironing sleeves evenly can be challenging but is crucial for a neat shirt.
- Lay the sleeve flat on the ironing board, smoothing out wrinkles.
- Press from shoulder to cuff using the iron’s tip to reach seams.
- Flip the sleeve and repeat on the other side.
- Optional: Create a crease along the top of the sleeve for a sharp, tailored look.
Step 4: Iron the Back
The back of the shirt is often overlooked but can affect overall presentation.
- Lay the back flat, aligning seams to avoid puckering.
- Iron from the yoke (upper back) downward.
- Use steam or light misting for stubborn wrinkles, especially around pleats.
Step 5: Iron the Front Panels
The front panels often include buttons, plackets, and pockets.
- Position the front panel flat, ironing around buttons rather than over them.
- For fabric around buttons, use the iron’s tip to reach small areas.
- Pay special attention to pocket areas and button plackets for a polished finish.
Step 6: Finishing Touches
- Hang the shirt immediately on a hanger to prevent new wrinkles.
- Smooth the shirt gently with your hands for a crisp look.
- Inspect for missed wrinkles and lightly touch up if necessary.
Special Considerations for Different Fabrics
Different fabrics require adjustments in technique when learning how to iron a dress shirt.
Cotton
- Cotton is durable and responds well to high heat and steam.
- For extra crispness, use starch or a fabric spray.
Linen
- Linen wrinkles easily and may require careful steaming.
- Iron while slightly damp for best results.
Polyester and Blends
- Synthetic fabrics require lower heat to prevent melting or shiny spots.
- Use the steam function or a damp pressing cloth for delicate areas.
Silk
- Iron silk on the lowest heat with a pressing cloth to avoid damaging fibers.
- Avoid steam directly on silk to prevent water stains.
Common Mistakes to Avoid When Ironing a Dress Shirt
Even experienced people can make errors that affect the final appearance. Avoid these pitfalls:
- Ironing too quickly – Rushing leads to missed wrinkles.
- Overheating fabric – Can cause burns or shiny patches.
- Ironing dry shirts – Slightly damp fabric irons more evenly.
- Ignoring seams – Wrinkles often form along seams if not properly pressed.
- Pressing buttons directly – Can damage buttons or leave indentations.
Advanced Tips for a Professional Finish
- Use a sleeve board for precise sleeve creases.
- Iron shirts inside out for delicate fabrics to avoid shine.
- Rotate the iron to avoid creating new creases.
- Steam from the reverse side to relax stubborn wrinkles without flattening fabric texture.
Time-Saving Techniques
For those with busy schedules, mastering how to iron a dress shirt efficiently is essential.
- Organize multiple shirts to iron in batches.
- Spray with wrinkle release before ironing to reduce ironing time.
- Invest in a steam generator iron for faster, continuous steam.
Maintaining a Shirt Between Wears
Ironing is only part of the shirt care process. Proper maintenance reduces wrinkles and extends the life of the shirt.
- Hang shirts immediately after wearing.
- Button the top button to maintain collar shape.
- Use padded hangers to preserve shoulder structure.
- Fold shirts properly when storing in drawers to prevent creasing.
Ironing for Travel and On-the-Go
Ironing a dress shirt while traveling requires creativity:
- Portable travel irons or handheld steamers are lightweight alternatives.
- Pack shirts carefully by rolling or using garment bags.
- Use hotel irons cautiously; check fabric compatibility.
Eco-Friendly Ironing Practices
For those conscious about energy use and sustainability:
- Iron multiple shirts at once to reduce electricity consumption.
- Use the appropriate heat settings to avoid unnecessary energy use.
- Consider using steam instead of starch sprays when possible.
Summary of Expert Advice
Mastering how to iron a dress shirt requires patience, the right tools, and attention to detail. From collars to cuffs and sleeves to the main body, each part of the shirt needs careful attention. By understanding fabric types, using proper techniques, and avoiding common mistakes, anyone can achieve a crisp, professional, and polished appearance.
Proper ironing not only improves your look but also preserves the longevity of your dress shirts, ensuring you always present your best self, whether in the office, at formal events, or in everyday settings.
Frequently Asked Questions (FAQs)
1. What is the best temperature for ironing a dress shirt?
The ideal temperature depends on the fabric. For cotton shirts, use high heat with steam. For polyester or blended fabrics, use a lower temperature to prevent melting. Silk requires the lowest heat with a pressing cloth to avoid shine or burns.
2. Should I iron my dress shirt when it is damp or dry?
For best results, iron the shirt while it is slightly damp. Damp fabric allows the iron to glide smoothly and removes wrinkles more effectively. If the shirt is dry, lightly spray it with water before ironing.
3. Can I use starch on all dress shirts?
Starch is suitable for cotton and some linen shirts to achieve a crisp finish, especially on collars and cuffs. Avoid using starch on delicate fabrics like silk or polyester, as it can leave residue or damage the fabric.
4. How do I prevent new wrinkles while ironing?
Always iron on a flat, padded surface like a stable ironing board. Smooth out each section of the shirt with your hands before pressing and avoid folding or compressing fabric during the process.
5. What is the correct order to iron a dress shirt?
Start with the collar, followed by the cuffs, sleeves, back, and then the front panels. Finishing touches include touch-ups on any stubborn wrinkles. Ironing in this order ensures a smooth and professional finish.
6. How can I avoid shiny marks on my dress shirt?
Use the correct iron temperature for the fabric, avoid pressing too long in one spot, and consider ironing shirts inside out or using a pressing cloth on delicate areas.
7. Can I iron a shirt without an ironing board?
Yes, you can use a flat, heat-resistant surface, but an ironing board is recommended for ease and precision. For travel, a handheld steamer or portable iron is a convenient alternative.
8. How often should I iron my dress shirts?
Ironing frequency depends on wear and fabric. Cotton shirts may need ironing after each wear, while wrinkle-resistant or blended fabrics may require less frequent ironing. Proper storage on hangers helps reduce the need for ironing.
9. Is steaming as effective as ironing?
Steamers are great for removing light wrinkles and refreshing shirts quickly. However, for crisp creases and sharp collars, traditional ironing is generally more effective.
10. How do I maintain my shirt’s shape after ironing?
Immediately hang the shirt on a good-quality hanger after ironing, button the top button to maintain the collar shape, and avoid folding or compressing the fabric to preserve a polished appearance.
Conclusion
Mastering how to iron a dress shirt transforms your wardrobe from average to professional. By understanding fabric types, using the correct tools, and following a step-by-step approach—starting from collars to cuffs and finishing with the front panels—you can achieve a smooth, crisp, and wrinkle-free look every time.
Ironing is more than a chore; it’s an investment in your appearance, confidence, and the longevity of your clothing. Attention to detail, avoiding common mistakes, and incorporating advanced techniques like steaming, pressing cloths, or starch ensure your dress shirts always look polished and presentable.
With consistent practice and proper care, ironing a dress shirt becomes effortless, giving you the power to leave a lasting impression wherever you go.