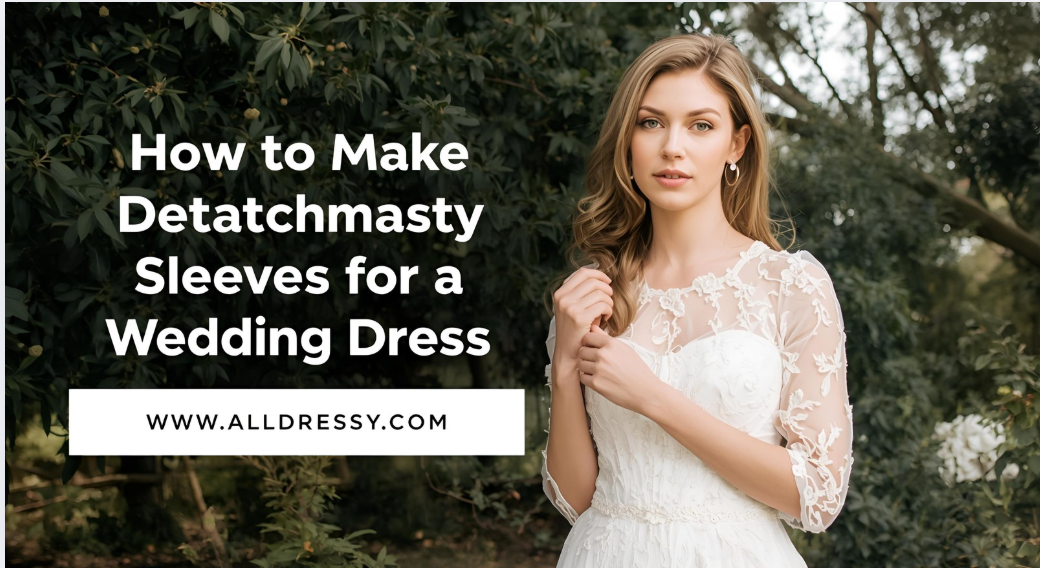
The wedding dress is the centerpiece of one of the most important days of your life, but what if you could have two stunning looks in one gown? Learning how to make detachable sleeves for a wedding dress is the secret to unparalleled versatility, allowing you to transition seamlessly from a formal ceremony to a joyful reception with a simple change of accessories. This transformative skill empowers you to customize your bridal look, add a personal touch, and create a truly unique fashion statement.
This comprehensive guide will demystify the entire process, providing a detailed, step-by-step roadmap for creating beautiful, professional-looking detachable sleeves. We will move beyond basic tutorials to explore advanced design concepts, material selection, and secure attachment methods that ensure your sleeves look flawless and stay perfectly in place throughout your celebration. Whether you envision delicate lace cap sleeves, dramatic cathedral-length bell sleeves, or elegant off-the-shoulder flounces, mastering how to make detachable sleeves for a wedding dress will unlock a world of creative possibilities for your big day.
Why Choose Detachable Sleeves? The Ultimate Bridal Style Hack
Before diving into the technical process, it’s important to understand the profound impact detachable sleeves can have on your wedding day experience. The decision to learn how to make detachable sleeves for a wedding dress is about more than just aesthetics; it’s a strategic style choice that offers numerous benefits.

Transformational Versatility: The primary advantage is the ability to achieve two distinct looks with a single dress. Imagine a sophisticated, sleeveless or strapless gown for your ceremony that transforms into a romantic, sleeve-adorned masterpiece for your reception, or vice-versa. This duality allows you to maximize the impact of your wedding gown investment.
Practical Comfort and Climate Control: Wedding days are long, and temperatures can fluctuate. Detachable sleeves offer practical comfort—providing warmth for an early morning or evening event that can be easily removed for dancing and mingling. This is especially useful for seasonal weddings where the weather can be unpredictable.
Customization and Personalization: Perhaps the most compelling reason to learn how to make detachable sleeves for a wedding dress is the opportunity for deep personalization. You are not limited to the designs offered by the dress manufacturer. You can create sleeves that incorporate heirloom lace from a family member’s gown, match a specific theme, or perfectly reflect your personal style in a way that off-the-rack options cannot.
Phase One: Inspiration and Design – Envisioning Your Sleeves
The first and most creative phase in learning how to make detachable sleeves for a wedding dress is defining your vision. This stage involves gathering inspiration and making crucial design decisions that will guide the entire construction process.
Exploring Sleeve Silhouettes:
The shape of your sleeve will dramatically alter the overall feel of your dress. Consider these popular styles:
- Cap Sleeves: A short, minimalist sleeve that just covers the shoulder cap. It adds a touch of elegance without significant volume.
- Juliet Sleeves: Characterized by a puffed upper arm that gathers into a fitted forearm, often with buttons running its length. This style offers a romantic, Renaissance feel.
- Bell Sleeves: Fitted at the shoulder and flaring out dramatically towards the wrist. They can range from a subtle flare to a dramatic, floor-sweeping silhouette.
- Lantern Sleeves: Similar to bell sleeves but with volume controlled by a seam or elastic at the mid-forearm and wrist, creating a “lantern” shape.
- Off-the-Shoulder Flounces: Wide, cuffed sleeves that sit below the shoulder, creating a soft, romantic neckline and drawing attention to the collarbones.
- Statement Puff Sleeves: Voluminous sleeves gathered at both the shoulder and the cuff, creating a bold, fashion-forward look.
Selecting Your Materials:
The fabric you choose is paramount. It must complement your wedding dress in weight, texture, and color.
- Lace: Ideal for a romantic, classic look. Ensure the lace pattern and scale are harmonious with any lace already on your dress.
- Sheer Fabrics: Illusion tulle or chiffon creates an ethereal, soft look that allows your skin to show through while adding texture and volume.
- Satin or Duchess Satin: Provides structure for styles like puff sleeves or leg-of-mutton shapes. It creates a crisp, luxurious appearance.
- Crepe: A fluid, matte fabric that is excellent for creating elegant, drapey sleeves without bulk.
Pro Tip: If possible, acquire a swatch of your wedding dress fabric from the manufacturer or a spare piece from alterations. This ensures a perfect match.
Phase Two: The Toolkit – Gathering Your Supplies
A successful project hinges on having the right materials. You do not need a professional studio, but a well-curated toolkit is essential for learning how to make detachable sleeves for a wedding dress effectively.
Essential Sewing Supplies:
- Sewing Machine (or a willingness to hand-sew for delicate fabrics)
- Sharp Fabric Scissors
- Pins and Fabric Clips (clips are better for delicate fabrics like satin)
- Hand-Sewing Needles (in various sizes)
- Thread that matches your dress and sleeve fabric perfectly
- Measuring Tape
- Fabric Marking Pen or Chalk
- Seam Ripper (a crucial tool for correcting mistakes)
Specialized Notions for Detachment:
This is the core of the project. The attachment method must be secure yet discreet.
- Clear Snap Fasteners: These are a fantastic, nearly invisible option for lightweight sleeves. They are easy to install and provide a secure hold.
- Hook-and-Eye Tape: This professional-grade solution involves sewing a strip of tiny hooks on one side and a strip of eyes on the other. It distributes stress evenly and is very secure for heavier sleeves.
- Buttons and Loops: A decorative and functional choice. You can sew buttons to the dress and corresponding fabric loops to the sleeves, or vice-versa. This works beautifully with styles like the Juliet sleeve.
- Velcro (Hook-and-Loop Tape): Use with extreme caution. While very strong, it can snag delicate tulle and lace and may be noisy when detached. If used, opt for a thin, sew-in variety and keep it well-concealed.
- Fashion Tape: Not a permanent attachment method, but useful for extra security to keep the top edge of an off-the-shoulder sleeve from sliding down.
Phase Three: The Construction Process – A Step-by-Step Guide
This is the hands-on heart of learning how to make detachable sleeves for a wedding dress. We will use the creation of a simple, elegant cap sleeve as our foundational example, with notes on how to adapt the process for other styles.
Step 1: Creating the Perfect Pattern
You have two primary options for patterning:
- Draft from an Existing Garment: Take a well-fitting sleeveless top or tankini with a similar armhole shape. Lay it flat and trace the armhole curve onto pattern paper. From this curve, draft the desired sleeve shape (e.g., for a cap sleeve, extend the curve out 3-5 inches).
- Custom Draft from Measurements: This is the most accurate method. Carefully measure the circumference of your armhole while wearing the dress (or a similar top). Divide this number by two to get the basic cap width. Draw a curved line that mirrors the armhole shape, then draft your sleeve shape outward. Always create a mock-up (a “muslin”) from cheap fabric like an old bedsheet to test the fit and shape before cutting into your precious wedding fabrics.
Step 2: Cutting the Fabric
- Once your pattern is perfected, press your fashion fabric.
- Pin the pattern to the fabric, ensuring you follow the grainline. For symmetrical sleeves, you can fold the fabric and cut two layers at once.
- For a lined sleeve, you will need to cut two identical pieces from your fashion fabric (e.g., lace) and two from a lining fabric (e.g., skin-toned illusion tulle or soft cotton).
- Cut with sharp scissors, making smooth, clean cuts.
Step 3: Sewing the Sleeve
- For an Unlined Sleeve: Place the two sleeve pieces right sides together. Pin and sew along the underarm/vertical seam. Finish the raw edges with a zigzag stitch or serger to prevent fraying.
- For a Lined Sleeve: This creates a more professional, comfortable finish.
- Sew the fashion fabric sleeve pieces together along the underarm seam. Do the same for the lining pieces.
- Turn the fashion fabric sleeve right side out. Leave the lining sleeve wrong side out.
- Slip the fashion fabric sleeve inside the lining sleeve, so their right sides are facing each other.
- Pin and sew all around the armhole edge.
- Carefully pull the entire sleeve through a small gap left in the lining’s underarm seam. This will turn the sleeve right side out, encasing the raw armhole edge between the layers.
- Hand-stitch the gap in the lining closed.
Step 4: Applying the Fasteners
This is the most critical step in ensuring your sleeves are truly detachable and secure.
- Method A: Snap Fasteners
- Try on the dress and pin the sleeve in the exact desired position.
- Carefully mark the placement for 3-5 snap halves around the armhole. Place them at the top, bottom, front, and back for even distribution.
- Hand-sew the “ball” half of the snap to the inside of the dress armhole, ensuring your stitches do not go through to the outside of the dress.
- Hand-sew the corresponding “socket” half to the wrong side of the sleeve’s armhole edge.
- Method B: Hook-and-Eye Tape
- Pin the sleeve in place.
- Hand-sew the hook tape along the inside of the dress’s armhole.
- Hand-sew the eye tape along the sleeve’s armhole edge.
- Ensure the tapes align perfectly so the sleeve sits smoothly when connected.
Step 5: Finishing Touches and Embellishments
- Edge Finishing: The outer edge of the sleeve (the hem) can be finished with a narrow rolled hem on a sewing machine, a hand-stitched blind hem, or for lace, carefully trimmed along the scalloped edge.
- Embellishments: Add beads, pearls, or sequins that match the embellishments on your wedding dress. This creates a cohesive, designer look.
Advanced Techniques and Creative Variations
Once you’ve mastered the basic cap sleeve, you can explore more complex designs.
- Creating Long, Dramatic Bell Sleeves: The process is the same, but the pattern is longer and wider. For extra volume, add triangular godets (insets of fabric) to the hem of the sleeve. Ensure you use a very secure attachment method like hook-and-eye tape due to the added weight.
- Designing Two-in-One Sleeves: Create an “oversleeve” that attaches over a simpler, fitted base sleeve. This allows for a third look and incredible dramatic effect.
- Integrating a Sleeve into a Cape or Capelet: Instead of two separate sleeves, create a unified capelet that has sleeves incorporated. This is attached at the shoulders and often down the back, creating a regal, high-fashion silhouette.
A Final Fitting: Ensuring Perfection
A week before the wedding, conduct a full dress rehearsal with your finished detachable sleeves.
- Put on your entire wedding day ensemble: dress, undergarments, sleeves, and veil.
- Move around as you would on the day—raise your arms to hug, dance, and sit down.
- Practice attaching and detaching the sleeves to ensure you can do it easily, perhaps with the help of your Maid of Honor.
- Check that the sleeves do not gap, pull, or distort the dress’s bodice.
- Take photographs from all angles to ensure they look flawless.
Frequently Asked Questions (FAQs)
What is the most secure method for attaching heavy detachable sleeves?
For heavy sleeves, such as those made of structured satin or with significant embellishments, hook-and-eye tape is the most secure professional method. It distributes the weight evenly around the entire armhole, preventing any single point from bearing too much stress and pulling loose. Reinforcing this with a few hand-stitched anchor points at the top and bottom of the armhole can provide extra security.
Can I add detachable sleeves to any wedding dress?
While most dresses can be adapted, some are more suitable than others. Strapless, spaghetti strap, and thin-strap dresses are ideal because they provide a clear armhole for attachment. Dresses with existing thick straps or elaborate bodice detailing around the armhole may make it difficult to attach sleeves seamlessly and discreetly. Consult a trusted tailor if you are unsure.
How do I hide the attachments on my dress?
The key to invisible attachments is discreet placement and stitching. Sew all fasteners (snaps, hooks) to the inside of the dress’s armhole facing or lining. Use a thread that matches the dress fabric perfectly and take tiny, almost invisible hand stitches. For clear snaps, they will be virtually undetectable to anyone but you.
Should the sleeves be lined?
Lining is highly recommended for several reasons. It increases comfort by preventing scratchy seams or lace from touching your skin. It adds structure and body to the sleeve, helping it hold its shape better. It also creates a clean, professional finish on the inside, hiding all the construction seams and fasteners.
How far in advance should I make my detachable sleeves?
Begin this project at least 2-3 months before the wedding. This provides ample time for the creative process, multiple mock-ups, sourcing materials, and making adjustments after your final dress fitting. Rushing this process can lead to mistakes and unnecessary stress.
Conclusion: Embrace the Power of Transformation
Learning how to make detachable sleeves for a wedding dress is a journey that blends creativity with craftsmanship, resulting in a deeply personal and functional addition to your bridal attire. It is a project that empowers you to become the co-designer of your own wedding day look, ensuring that every detail, from the ceremony’s solemnity to the reception’s celebration, is reflected in your gown.
The process, from initial sketch to the final secure stitch, is a labor of love that pays immeasurable dividends in versatility, personalization, and sheer joy. By following this detailed guide, you are equipped with the knowledge and confidence to create a beautiful, professional-quality accessory that will elevate your wedding dress from a single statement to a dynamic fashion experience. So, embrace the challenge, gather your materials, and start creating the transformative sleeves that will make your wedding look truly unforgettable.