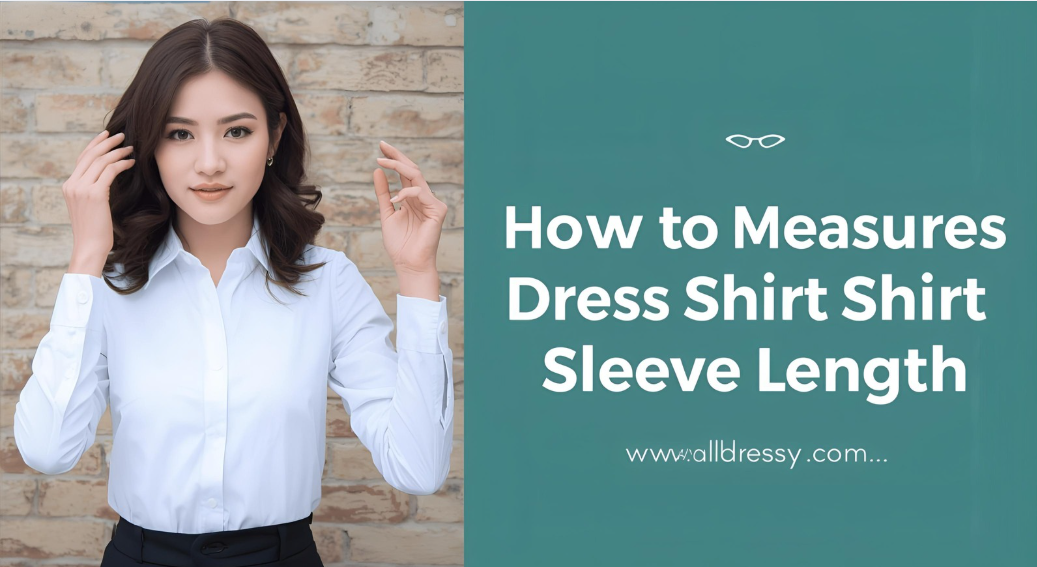
Knowing how to measure dress shirt sleeve length accurately is crucial for achieving a perfect fit. Ill-fitting sleeves can make even the most expensive dress shirts look sloppy and unprofessional. Whether you are shopping for a new shirt, ordering a custom-made shirt, or adjusting an existing one, understanding sleeve measurements ensures comfort, style, and proper proportion. This detailed guide will cover step-by-step measurement techniques, common pitfalls, different measurement methods, and tips for various body types, providing more insight than typical online tutorials.
Why Accurate Sleeve Measurement Matters

Professional Appearance
Proper sleeve length contributes to a polished, professional appearance. Sleeves that are too short can expose wrists awkwardly, while sleeves that are too long can bunch at the cuff or cover part of your hands. A well-measured sleeve complements your overall outfit and aligns perfectly with suit jackets or blazers.
Comfort and Mobility
Accurate measurements ensure your sleeves do not restrict movement. Sleeves that are too tight across the arm or too long at the wrist can be uncomfortable during daily activities such as typing, driving, or reaching.
Compatibility with Jackets
Dress shirt sleeves are often paired with suit jackets. Proper sleeve length allows for the shirt cuff to peek slightly (around 1/4 inch to 1/2 inch) beyond the jacket sleeve, maintaining a classic, elegant look.
Understanding Dress Shirt Sleeve Components
Before measuring, it’s essential to understand the different parts of a dress shirt sleeve:
- Shoulder seam: The seam where the sleeve attaches to the shirt body.
- Bicep area: The widest part of the upper arm, usually just below the sleeve cap.
- Elbow point: The midpoint where the sleeve naturally bends.
- Cuff: The end of the sleeve, which may be buttoned or French-style.
- Sleeve length: Distance from the shoulder seam (or center back, depending on method) to the end of the cuff.
Familiarity with these parts helps ensure accurate measurements.
Tools Needed for Accurate Measurement
To measure sleeve length precisely, gather the following tools:
- Flexible measuring tape (preferably soft cloth)
- Mirror or a friend to assist
- Pen and paper to record measurements
- Shirt that fits well (for reference)
- Ruler (optional, for additional accuracy)
Using the right tools eliminates guesswork and reduces the risk of errors.
Step-by-Step Guide: How to Measure Dress Shirt Sleeve Length
There are several common methods to measure dress shirt sleeves, each suited for different purposes.
Method 1: Standard Shoulder-to-Cuff Measurement
- Wear the shirt or a fitted garment: Stand upright with arms relaxed at your sides.
- Locate the shoulder seam: The starting point for measurement.
- Extend the measuring tape along the outer arm: Measure from the shoulder seam down to the end of the cuff.
- Record the measurement: Ensure the tape follows the natural curve of the arm for accuracy.
This method is widely used for ready-to-wear and custom dress shirts.
Method 2: Center-Back Measurement
- Stand straight with arms relaxed:
- Place the measuring tape at the center back of your neck: This is the midpoint between your shoulder blades.
- Run the tape across the shoulder: Extend along the outer arm, ending at the wrist or cuff.
- Check symmetry: Repeat on the other arm to ensure both sleeves are equal.
This method is preferred by tailors for custom shirts because it accounts for shoulder width and natural arm length.
Method 3: Bicep-to-Cuff Measurement
For shirts with fitted or slim sleeves:
- Measure around the widest part of the bicep to ensure the sleeve allows comfortable movement.
- Measure from the elbow to the cuff to verify proper bend alignment.
- Combine with overall sleeve length for an accurate fit.
This technique ensures that the sleeve will not be too tight in the upper arm or restrictive at the elbow.
Tips for Accurate Measurement
- Keep arms relaxed: Avoid bending or stretching the arm unnaturally.
- Use a friend if possible: An extra pair of eyes ensures the measuring tape stays straight.
- Double-check both arms: Human arms are rarely perfectly symmetrical, so measure both and choose the larger length if necessary.
- Account for cuff style: French cuffs may require extra length for folding and cufflinks.
- Consider fabric shrinkage: For natural fibers like cotton or linen, allow 1/2 inch to 1 inch for shrinkage after washing.
Common Measurement Mistakes to Avoid
- Measuring too short: Often occurs when the arm is slightly bent or when the tape doesn’t extend fully to the cuff.
- Ignoring cuff allowance: French cuffs or adjustable button cuffs require extra length.
- Measuring without a shirt: Using body measurements alone can lead to inaccurate sleeve length.
- Failing to measure both arms: Slight asymmetry in arms can result in one sleeve being too long or short.
- Incorrect starting point: Always start at the shoulder seam or center back depending on the method, not the neck base or armpit.
Avoiding these mistakes ensures sleeves fit properly and align well with jackets or accessories.
Measuring Sleeve Length for Custom Dress Shirts
When ordering a custom-made shirt, accurate measurements are critical:
- Shoulder width: Measure from shoulder seam to shoulder seam across the back.
- Arm length: Use either shoulder-to-cuff or center-back method.
- Bicep circumference: Measure the widest part of the upper arm.
- Wrist circumference: Measure around the wrist where the cuff will sit.
Custom shirts require precise numbers to ensure the sleeves are comfortable and proportional. Providing measurements in inches or centimeters is standard.
Adjusting Sleeve Length
Even after measuring, adjustments may be necessary for perfection:
- Shortening sleeves: Tailors can remove excess fabric at the cuff or hem.
- Lengthening sleeves: May require additional fabric, though this is less common.
- Tapering sleeves: Adjust the sleeve width for a slimmer or more fitted look.
Accurate pre-measurement reduces the need for post-production alterations.
How Sleeve Length Affects Overall Fit
Proper sleeve length enhances the shirt’s silhouette:
- Cuff exposure: A well-fitted sleeve shows approximately 1/4 inch to 1/2 inch of shirt cuff beyond a jacket sleeve.
- Balanced proportions: Long or short sleeves can make shoulders look slouched or overly broad.
- Mobility: Correct sleeve length ensures unrestricted movement for daily tasks.
A precisely measured sleeve complements the chest, shoulder, and overall fit of the dress shirt.
Fabric Considerations in Sleeve Measurement
Different fabrics may affect sleeve fit and measurement techniques:
- Cotton: Slight shrinkage after washing, so measure slightly longer.
- Linen: May stretch and wrinkle; allow extra length for movement.
- Silk: Smooth and slippery; ensure tape doesn’t slide during measurement.
- Stretch fabrics: Use a slightly relaxed measurement to accommodate flexibility.
Fabric type influences not only measurement but also how the sleeves behave after laundering.
Tools to Improve Measurement Accuracy
- Soft measuring tape: Flexible for contouring along the arm.
- Dress shirt as reference: Compare with existing shirts that fit well.
- Mirror or helper: Ensures tape is straight and aligned properly.
- Pen and paper: Record multiple measurements for comparison.
- Tailor’s ruler: Useful for marking the starting and ending points precisely.
Utilizing the right tools ensures repeatable and consistent sleeve measurements.
Sleeve Measurement for Different Body Types
Broad Shoulders
- Measure from the shoulder seam to cuff carefully to avoid sleeves being too tight across the bicep.
- Consider adding 1/4 inch for comfort and mobility.
Narrow Shoulders
- Ensure sleeve seam aligns naturally with the shoulder.
- Avoid oversized sleeves that can make the upper body appear wider than it is.
Long Arms
- Measure longer sleeves to prevent short cuffs.
- Adjust jacket or coat sleeve accordingly to maintain cuff visibility.
Short Arms
- Measure precisely to prevent sleeves from extending over the hands.
- Alter shirts to remove excess fabric if necessary.
Understanding body shape allows for tailored adjustments that improve comfort and style.
How to Record and Organize Sleeve Measurements
- Use a consistent method: Stick to shoulder-to-cuff or center-back for all shirts.
- Label measurements: Record measurements for left and right arm separately.
- Include allowances: Note shrinkage, cuff style, and tapering adjustments.
- Keep reference shirts: Compare new measurements with existing shirts that fit perfectly.
Organized records simplify future purchases, custom orders, and sewing projects.
Tips for Accurate Sleeve Measurement at Home
- Stand straight with arms relaxed at your sides.
- Use a mirror to check the tape alignment.
- Repeat measurements two or three times for consistency.
- Compare with a well-fitting shirt for cross-checking.
- Use soft, flexible measuring tape rather than rigid rulers.
Accurate measurements at home reduce the likelihood of ill-fitting shirts and improve confidence in online or custom orders.
Measuring Sleeves for Alterations
If a dress shirt needs adjusting:
- Shortening sleeves: Mark the new length while wearing the shirt.
- Lengthening sleeves: Check if extra fabric exists in the cuff seam.
- Tapering: Measure along the sleeve width for proportional adjustments.
FAQs About How to Measure Dress Shirt Sleeve Length
Q1: What is the most accurate method to measure dress shirt sleeve length?
The center-back method, measuring from the center back of the neck across the shoulder and down the arm to the wrist, is often the most accurate for custom shirts. Shoulder-to-cuff measurement is also reliable for ready-to-wear garments.
Q2: Should I measure both arms?
Yes, because most people have slightly asymmetrical arms. Measure both and use the longer measurement for a comfortable fit.
Q3: How much cuff should show beyond a jacket sleeve?
Approximately 1/4 inch to 1/2 inch of shirt cuff should peek from under the jacket sleeve for a polished, professional look.
Q4: How do I account for fabric shrinkage?
For natural fibers like cotton or linen, add 1/2 inch to 1 inch to your measurement to accommodate shrinkage after washing.
Q5: Can I measure sleeve length without a shirt?
Yes, but it’s more accurate to use an existing well-fitting shirt as a reference or to have someone assist in measuring along your arm.
Q6: How do I measure for French cuffs?
Allow extra length (usually around 1/2 inch) for folding the cuff, and ensure the measurement includes the fabric needed for cufflinks.
Q7: What tools are best for accurate measurement?
A soft, flexible measuring tape is ideal. Using a mirror, helper, and pen and paper to record measurements improves accuracy.
Q8: Can sleeve measurements differ for different shirt styles?
Yes, slim-fit shirts may require precise bicep and elbow measurements, while classic or loose-fit shirts can allow slightly more ease.
Conclusion
Knowing how to measure dress shirt sleeve length is essential for achieving a perfectly fitted shirt that looks polished, feels comfortable, and complements your overall outfit. Accurate measurements account for body shape, fabric type, and style preferences, preventing sleeves from being too short, too long, or restrictive.
By using proper tools, choosing the right measurement method, and considering factors like cuff style, fabric shrinkage, and arm asymmetry, you can confidently select or tailor shirts that fit impeccably. Whether ordering custom shirts, adjusting ready-to-wear options, or planning alterations, precise sleeve measurement ensures that your dress shirts enhance both style and comfort.
Proper sleeve length not only improves appearance but also contributes to ease of movement, professional aesthetics, and a refined, tailored look, making it a critical step in achieving wardrobe perfection.